
Why Winterization Cannot Be Skipped
Water expands roughly 9% when it freezes. Inside an RV's confined plumbing network — supply lines, pump, water heater, holding tanks, and faucet valves — that expansion generates enough pressure to crack fittings, split hoses, and rupture the water heater tank. A single freeze event can produce repair costs ranging from several hundred to several thousand dollars, and the damage often isn't visible until you recommission the rig in spring.
Beyond the plumbing, improperly stored RVs suffer accelerated battery failure, tire flat-spotting, fuel system degradation, and rodent infestations. Thoughtful winterization addresses all of these risks methodically. If your RV is new to you, the RV ownership primer is worth reading for baseline system knowledge before you work through the steps below.
What you will need
Tools and Supplies You'll Need
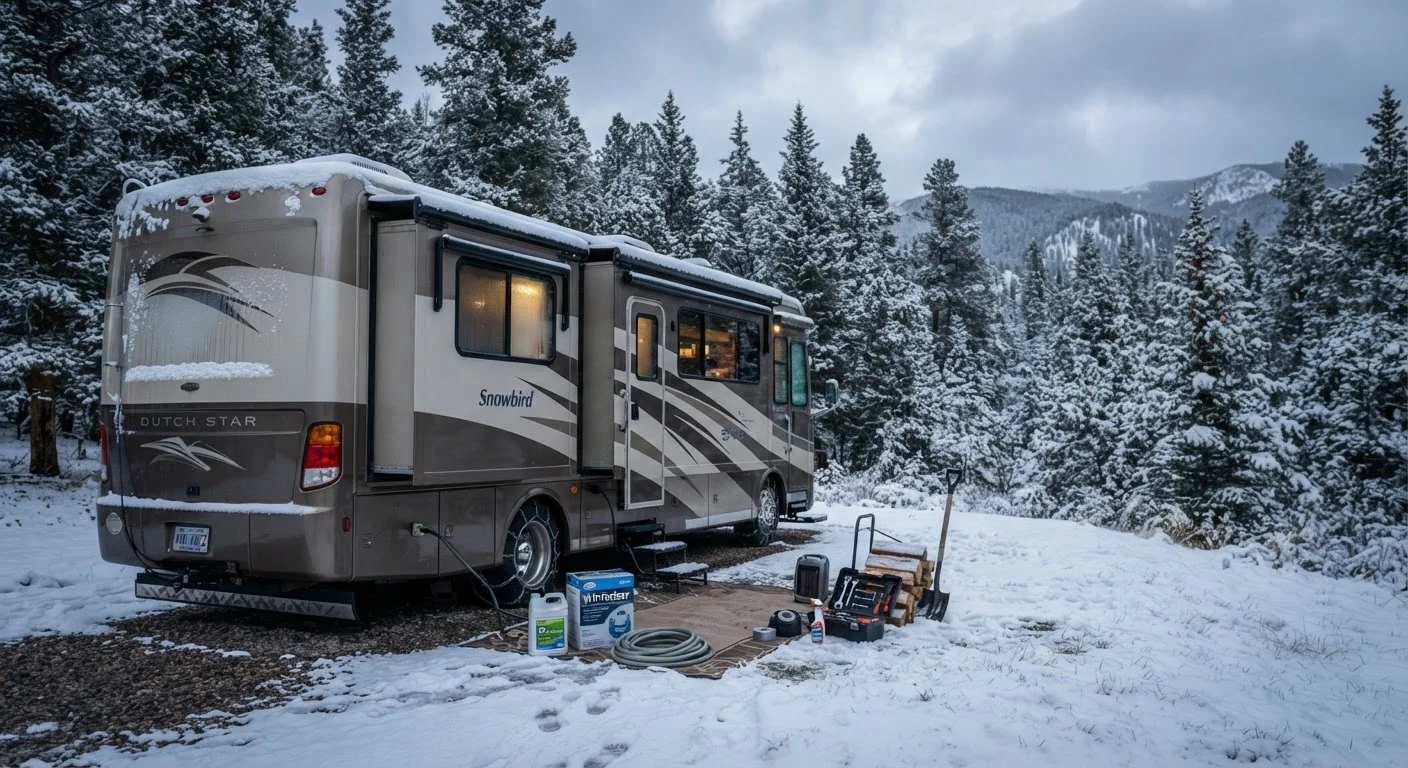
Gather everything before you start. Having to make mid-process hardware runs is more than inconvenient — leaving a partially drained system overnight in dropping temperatures defeats the purpose.
Non-Toxic RV Antifreeze
Fills drain-resistant low points in the plumbing to prevent residual water from freezing.
Water Heater Bypass Kit
Isolates the water heater so antifreeze doesn't fill its tank unnecessarily, saving antifreeze and preventing contamination.
Inline Water Pump Converter or Hand Pump
Draws antifreeze directly from the bottle into the water system without pressurizing a separate tank.
Blow-Out Plug (Schrader Valve Adapter)
Attaches to the city water inlet and allows compressed air to purge water from lines before antifreeze is added.
Battery Maintainer / Trickle Charger
Keeps the battery at a safe charge level during long storage, preventing sulfation and premature failure.
Rodent Deterrent and Steel Wool
Blocks small entry points around wiring pass-throughs, plumbing penetrations, and vents to prevent nesting.
Tire Pressure Gauge
Verifies tires are inflated to the cold-weather specification before the rig sits stationary for months.
The Winterization Process
Work through each step in sequence. Skipping ahead or reordering can leave trapped water in sections you believe are already clear.
Drain and Flush the Fresh Water Tank
Open the fresh water tank drain valve and allow the tank to empty completely. Once drained, close the valve. If your tank has accumulated sediment or odor over the season, this is the right time to sanitize it with a diluted bleach solution, then flush thoroughly — you don't want cleaning residue sitting for months.
Drain the Water Heater
Turn off the water heater and allow it to cool completely before opening the drain plug — hot pressurized water causes serious burns. Remove the anode rod (if your unit has one) along with the drain plug, and let the tank empty fully. Do not reinstall the plug yet; you want air to circulate through the tank during storage.
Bypass the Water Heater
Install or engage the water heater bypass kit. This routes antifreeze through the supply lines while keeping it out of the water heater tank — a 6- to 10-gallon tank would otherwise consume most of your antifreeze without any protective benefit. Confirm the bypass valves are fully seated before proceeding.
Purge Lines with Compressed Air (Optional but Recommended)
Attach a blow-out plug to the city water inlet and connect a regulated compressed air supply — most RV plumbing is rated for 45–50 PSI maximum, so do not exceed that threshold. Open each faucet (hot and cold) one at a time, starting farthest from the inlet, until air rather than water exits. Repeat for the toilet, outdoor shower, and any exterior connections.
Pump RV Antifreeze Through the System
Connect the inline pump converter to a bottle of non-toxic RV antifreeze. Turn on the water pump and open each faucet one at a time — hot side first, then cold — until pink antifreeze flows steadily from the tap. Close the faucet and move to the next. Include the toilet by holding down the flush valve until antifreeze appears. Pour a cup directly into each drain to protect the P-traps as well.
Drain and Treat the Black and Gray Holding Tanks
Empty both holding tanks at a proper dump station if you haven't already. Flush the black tank with its built-in rinser or a wand. Once drained, pour one to two quarts of RV antifreeze into each tank via the toilet and the lowest sink drain respectively. This protects the tank valves and any residual moisture from freezing.
Prepare the Battery and Electrical System
Fully charge the house and chassis batteries before storage. A deeply discharged battery left in cold temperatures will sulfate and may not recover. If storing the RV in a location with electrical access, connect a quality battery maintainer (float charger). If not, disconnect the battery cables to reduce parasitic drain, and plan to recharge every four to six weeks.
Seal the RV Against Pests and Moisture
Walk the entire exterior and interior looking for gaps around plumbing penetrations, slide-out seals, wiring entry points, and refrigerator vents. Stuff steel wool into openings too large to leave unaddressed, and follow with foam sealant. Place rodent deterrents (cedar blocks, electronic repellers, or non-toxic bait stations) inside storage bays and the living area. Remove all food, including canned goods and condiments, which can attract pests and freeze-crack.
Document Your Winterization for Spring
Take photos of bypass valve positions, drain plug storage locations, and any maintenance notes as you work. A short written checklist stored in the RV speeds up de-winterization considerably and helps you verify nothing was missed during the shutdown process.
Storage, Ongoing Checks, and What Comes Next
Once the RV is winterized, where and how you store it matters. A covered storage facility provides the best protection against UV damage, wind-driven debris, and extreme temperature swings. If outdoor storage is your only option, invest in a breathable, fitted cover that won't trap condensation against the roof membrane.
Plan to check on the rig at least once a month during storage. Walk the perimeter looking for evidence of pest entry, inspect the roof after heavy snow loads, and verify that the battery maintainer is still connected and functioning. Tires should be inflated to the manufacturer's cold-weather specification and, if possible, placed on boards to reduce contact with freezing concrete.
Inspect the Roof After Heavy Snow
Accumulated snow and ice can stress roof seams and vent covers beyond their design limits. A general guideline is to clear the roof after any snowfall exceeding 6 inches, but consult your owner's manual for the load rating specific to your rig. Never climb on an icy or wet roof without appropriate footwear and a safety line.
Winterization is a meaningful annual expense in time and materials, and it's one component of the broader financial picture of RV ownership. For a realistic view of what the rig costs you year-round, the true cost of owning an RV breaks down storage, maintenance, insurance, and depreciation in detail. Owners of classic vehicles facing similar storage decisions may also find useful parallels in long-term storage guidance for classic cars.