
Why Storage Preparation Matters for a Classic
A classic car sitting idle for months faces threats that a daily driver rarely encounters: fuel degradation, rubber hardening, battery discharge, surface rust, and pest intrusion. Unlike modern vehicles with sealed fuel systems and electronic safeguards, older classics — particularly carbureted, pre-emissions-era machines — are more vulnerable to the cumulative damage of inactivity. As discussed in our full overview of classic car ownership, storage costs and preparation are among the recurring realities every collector should understand before committing to a vehicle.
Taking two to four hours before the storage period begins can prevent hundreds — or thousands — of dollars in repairs come spring. The steps below are ordered for efficiency: address mechanical systems first, then exterior protection, then the environment itself.
What you will need
Step-by-Step: Preparing Your Classic for Long-Term Storage
Work through these steps in sequence. Some tasks, such as the oil change and fuel treatment, interact with each other and benefit from being done in a single session while the engine is warm.
Change the Oil Before Storage, Not After
Used engine oil contains combustion byproducts — acids, carbon particles, and moisture — that become corrosive when left sitting against metal surfaces for months. Drain the old oil while the engine is warm (it flows more completely) and install fresh oil and a new filter before the vehicle goes into storage. Do not start the engine after this step unless you intend to drive it to the storage location, as you want the fresh oil coating internal surfaces throughout the idle period.
Treat the Fuel System
Fill the tank as close to full as practical — this minimizes the air space above the fuel where condensation forms, reducing the risk of internal tank corrosion. Add a fuel stabilizer formulated for carbureted or vintage systems, following the dosage on the product label precisely. Then run the engine for 10 to 15 minutes to allow the treated fuel to circulate through the carburetor, fuel pump, and lines. This step is critical: untreated fuel left in a carburetor bowl for months can varnish the jets and passages, requiring a full rebuild before the car will start again.
Disconnect and Maintain the Battery
A classic car's electrical system — especially if it has aftermarket accessories — will slowly drain a connected battery even with no ignition load. Disconnect the negative terminal first, then the positive. Connect the battery to a quality float charger (battery maintainer), which automatically cycles to keep the battery at full charge without overcharging. If the storage environment is below freezing, consider removing the battery entirely and storing it indoors on the maintainer.
Address the Tires and Suspension
Inflate all four tires to the upper end of the manufacturer's recommended pressure range — cold storage causes pressure to drop slightly, and higher initial pressure compensates. Then raise the vehicle on four jack stands placed under the frame or designated lift points (consult your vehicle's service manual for correct locations). With the weight off the tires entirely, flat spots cannot develop. Leave the parking brake off during storage; brake shoes and pads can bond to drums and rotors over months of static contact.
Protect the Exterior and Seal Entry Points
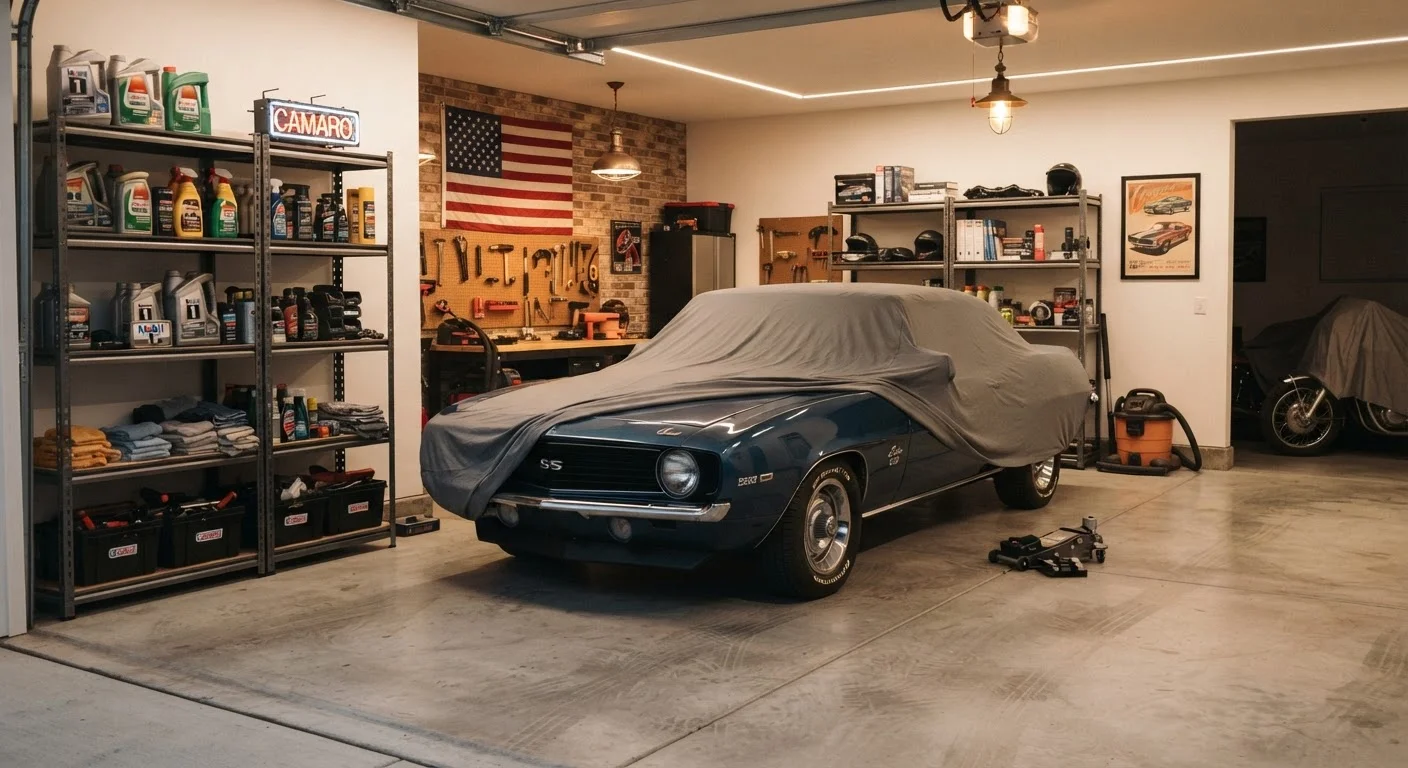
Wash and dry the car thoroughly before covering it — grit and contaminants left against the paint surface abrade the finish from underneath the cover over time. Apply a coat of carnauba or synthetic wax to add a sacrificial layer of protection. Then fit a breathable, soft-lined car cover. Stuff the exhaust pipe opening and air intake with steel wool or a purpose-made foam plug to prevent rodents from entering. Place additional deterrents — cedar blocks, peppermint-soaked cotton balls, or commercial ultrasonic repellers — around the vehicle's perimeter and inside the wheel wells.
Control the Storage Environment
Temperature fluctuations cause condensation, which accelerates corrosion on bare metal, wiring connectors, and brake components. If a climate-controlled space is not available, use desiccant packets or a small plug-in dehumidifier to reduce ambient moisture. Ensure the space has no standing water, active leaks, or poor drainage. A concrete floor can wick moisture upward — placing a vapor barrier sheet under the vehicle adds a useful layer of protection. Check on the vehicle at least once every four to six weeks: inspect the battery maintainer, look for signs of pest activity, and check that the cover has not shifted.
Document the Vehicle's Condition Before Storage
Photograph the undercarriage, engine bay, interior, and all four corners before the car goes into storage. This creates a dated reference you can compare against when retrieving it — useful for spotting new corrosion, leaks, or pest damage that developed during the storage period. It also supports any insurance discussions should something unexpected occur.
Common Storage Mistakes That Cause Hidden Damage
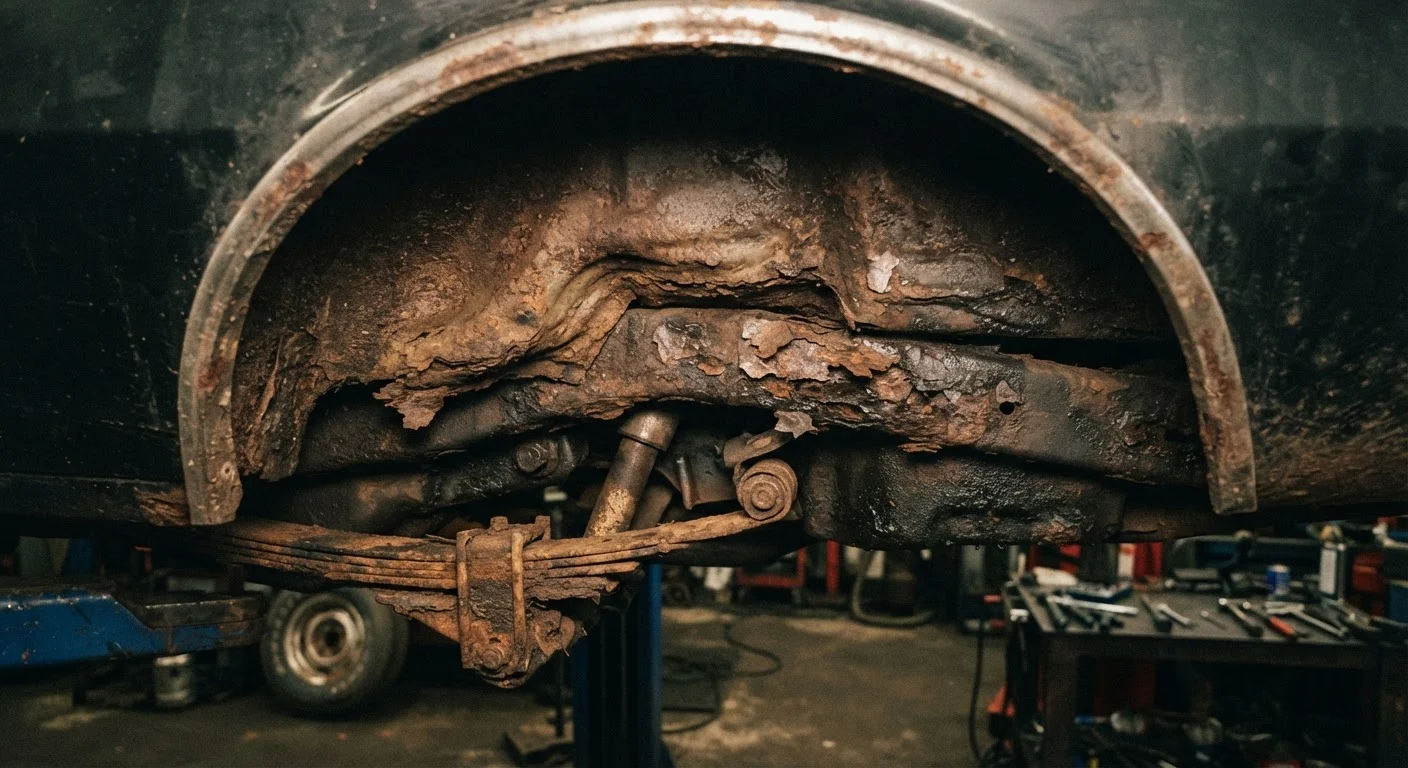
Even well-intentioned storage routines can introduce problems. One of the most frequent errors is using a non-breathable plastic tarp or waterproof cover. Trapped moisture beneath the cover creates the exact conditions rust needs to take hold — particularly in seams, wheel wells, and the undercarriage. Our dedicated guide on where rust hides and how it spreads explains why these hidden areas deserve close attention before and after storage.
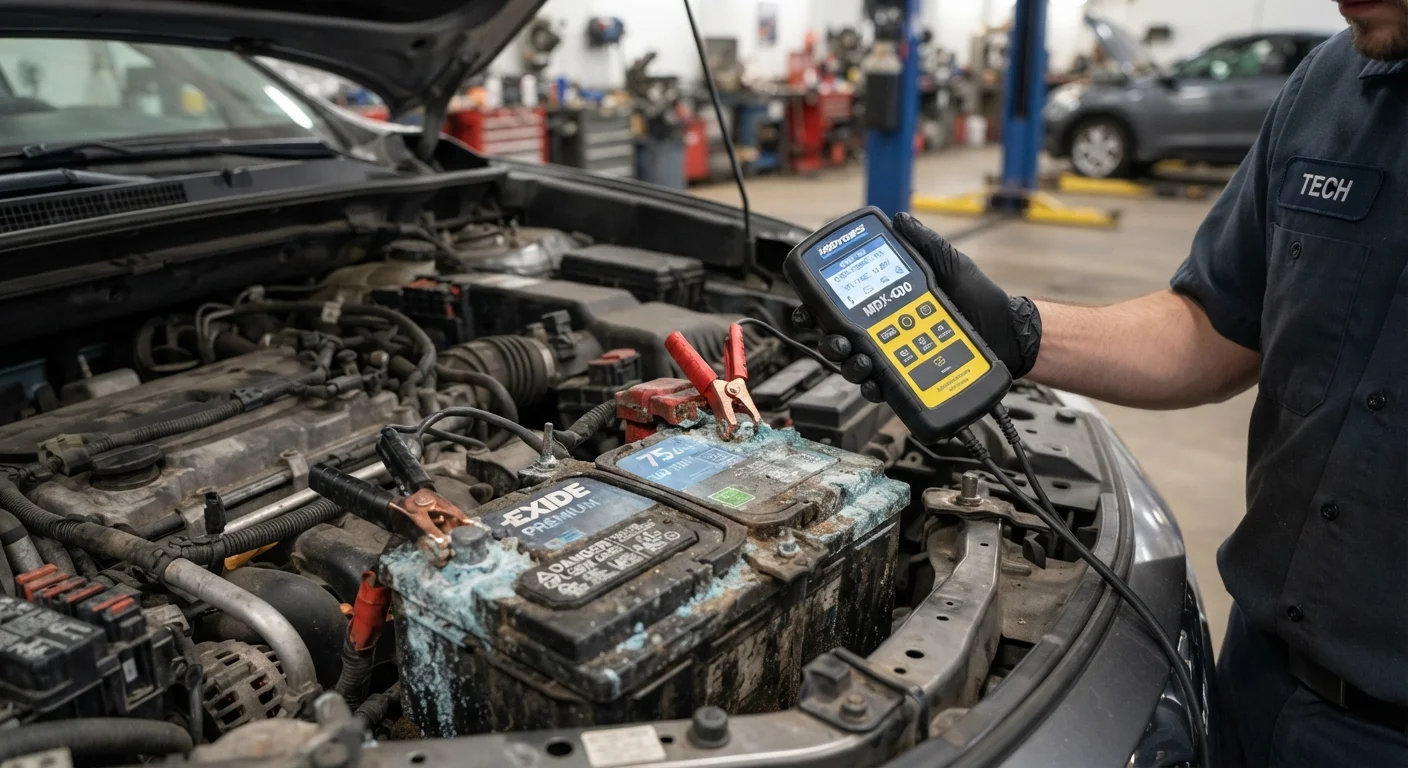
Another common oversight involves the battery. A classic left with a connected but uncharged battery will often sulfate beyond recovery within two to three months. See our resource on car battery lifespan and warning signs for context on what accelerates decline. Finally, skipping tire management is a mistake that shows up visibly — flat spots from static load can become permanent in cold temperatures, requiring new tires by spring.
Plastic Covers Trap Moisture and Cause Rust
Waterproof, non-breathable covers — including standard plastic tarps — seal in humidity and create a warm, damp microclimate against the paint and metal. Over a storage season, this can initiate or accelerate surface rust, particularly in panel seams and the undercarriage. Always use a cover specifically marketed as breathable, and ensure the car is fully dry before covering it.
For readers who also store an RV seasonally, the general principles overlap — though the specifics differ considerably. Our RV winterization guide covers that process separately. And when your classic comes out of storage, maintaining it through the season follows the practices outlined in our guide to maintaining pre-diagnostic-era vehicles.