
Why Nail Length Matters More Than You Might Think
A dog's nails should just barely touch the ground when the dog is standing on a flat surface. When nails grow long enough to click audibly on hard floors, they are already pushing back against the toe joints with every step. Over time, this pressure can alter the way a dog distributes its weight, contributing to postural changes and, in some cases, joint discomfort.
Overgrown nails also curl and can eventually grow into the paw pad, causing pain and potential infection. This is especially common with dewclaws, which have no ground contact to wear them down naturally. Regular trimming is one of the simplest forms of preventive care you can provide. It fits naturally into a broader grooming routine — see The Daily Grooming Habits That Keep Pets Healthy Year-Round for how nail trims integrate with other routine tasks like ear checks and brushing.
Most dogs benefit from a trim every three to four weeks, though active dogs who walk on concrete surfaces regularly may wear their nails down more slowly or quickly depending on gait and terrain. Check the nails visually every two weeks until you establish a rhythm for your dog.
Build Positive Associations Early
Even before your first trim, spend a few days simply handling your dog's paws and rewarding calm behavior with small treats. Letting your dog sniff the clippers and hear the sound without any cutting can significantly reduce anxiety. Dogs that associate nail trims with treats and praise tolerate the process far better long-term.
What You'll Need Before You Start
Having the right tools on hand before you begin reduces frustration and keeps the session moving. The two non-negotiables are sharp clippers and styptic powder.
Dog nail clippers (guillotine or scissor style)
The primary tool for cutting nails; choose a size appropriate to your dog's breed.
Styptic powder or styptic pencil
Stops bleeding quickly if the quick is accidentally nicked.
Dog nail grinder (rotary tool)
Smooths sharp edges after clipping or used as an alternative to clippers for sensitive dogs.
High-value treats
Reinforces calm behavior and builds a positive association with nail trimming.
Bright flashlight or headlamp
Helps illuminate the quick through lighter-colored nails.
If you are new to trimming, scissor-style clippers often offer more control than guillotine-style for beginners, though both work well when sharp. Rotary grinders are worth considering for dogs that find clipper pressure uncomfortable, but introduce the sound gradually — some dogs find it startling.
What you will need
How to Trim Safely: Step by Step
Follow these steps in order, moving at whatever pace keeps your dog calm. It is better to finish two nails successfully than to rush through all twenty with a stressed dog.
Set up your space and gather supplies
Choose a non-slip surface such as a bath mat or yoga mat so your dog feels stable. Lay out your clippers, styptic powder, and treats within easy reach. Good lighting is essential — work near a window or use a lamp positioned so you can clearly see each nail.
Help your dog settle with a calm greeting
Bring your dog into the space calmly. Avoid excited energy, which can make a dog more reactive. Let your dog sniff the clippers if it hasn't seen them before. Offer a treat simply for standing or lying quietly — you are rewarding the calm state before the task begins.
Identify the quick before cutting
Hold the paw gently but firmly. On white or light-colored nails, you can usually see a pink area — that is the quick. Cut below and away from it. On dark nails, trim in very small increments (1–2 mm) and examine the cross-section of the cut nail each time. Stop when you see a pale oval emerge at the center.
Make your first cut at a 45-degree angle
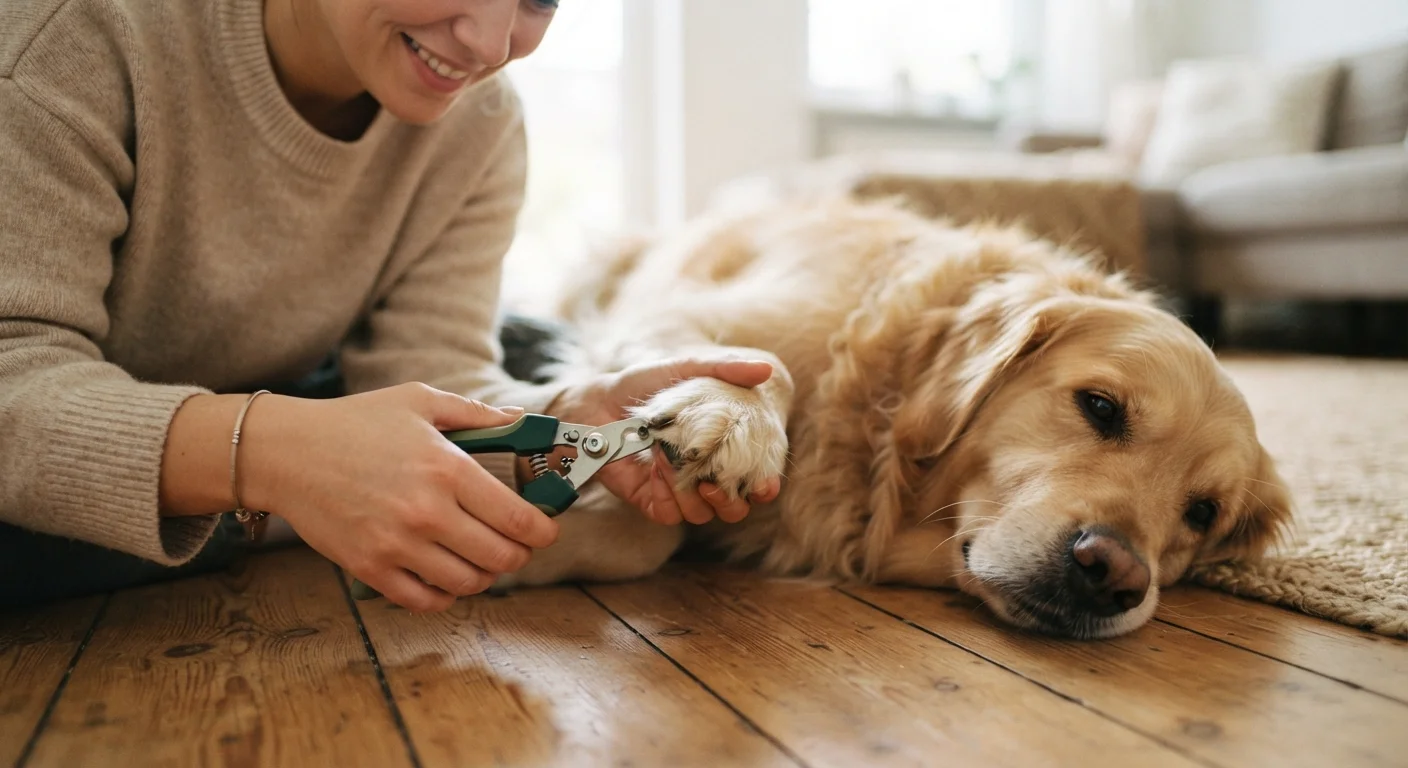
Position the clipper at roughly a 45-degree angle to the nail, cutting from underneath toward the tip. This angle mimics the natural shape of the nail and reduces the chance of splitting. Squeeze the clipper handles smoothly and firmly — a hesitant squeeze can crush rather than cut cleanly.
Work through each nail, rewarding as you go
You do not need to finish all nails in one session, especially when starting out. Trim one or two nails, offer a treat, pause. Gradually work through all four paws. Most dogs have a dewclaw on the inner side of the front legs — these do not contact the ground and can grow into a curve, so check them every time.
Smooth rough edges with a grinder or file
After clipping, any sharp or jagged edge can be smoothed using a rotary nail grinder or a simple emery board. This step is optional but reduces scratching on floors and skin. Introduce the grinder slowly, as some dogs find the vibration and sound startling at first.
Handle any bleeding and end on a positive note
If you nick the quick, apply styptic powder directly to the nail tip and hold light pressure for 30–60 seconds. Bleeding from a quick cut typically slows quickly with this treatment. Once the session is complete — whether you finished all nails or stopped early — give your dog a final reward and brief praise. The goal is for your dog to associate the experience with something positive.
The Quick Can Bleed — Be Prepared
Every dog nail contains a blood vessel called the quick. Cutting into it causes pain and bleeding. Always have styptic powder or a styptic pencil within reach before you begin. If bleeding does not slow within a few minutes after applying pressure and styptic powder, contact your veterinarian.
When to Hand It Off to a Professional
Home trimming is achievable for most pet owners, but it is not the right fit for every situation. If your dog has a history of severe nail-trim anxiety, snapping, or extreme physical resistance, pushing through at home can damage trust and make future care harder — not easier. In those cases, a professional groomer or veterinary technician trained in low-stress handling may get better results.
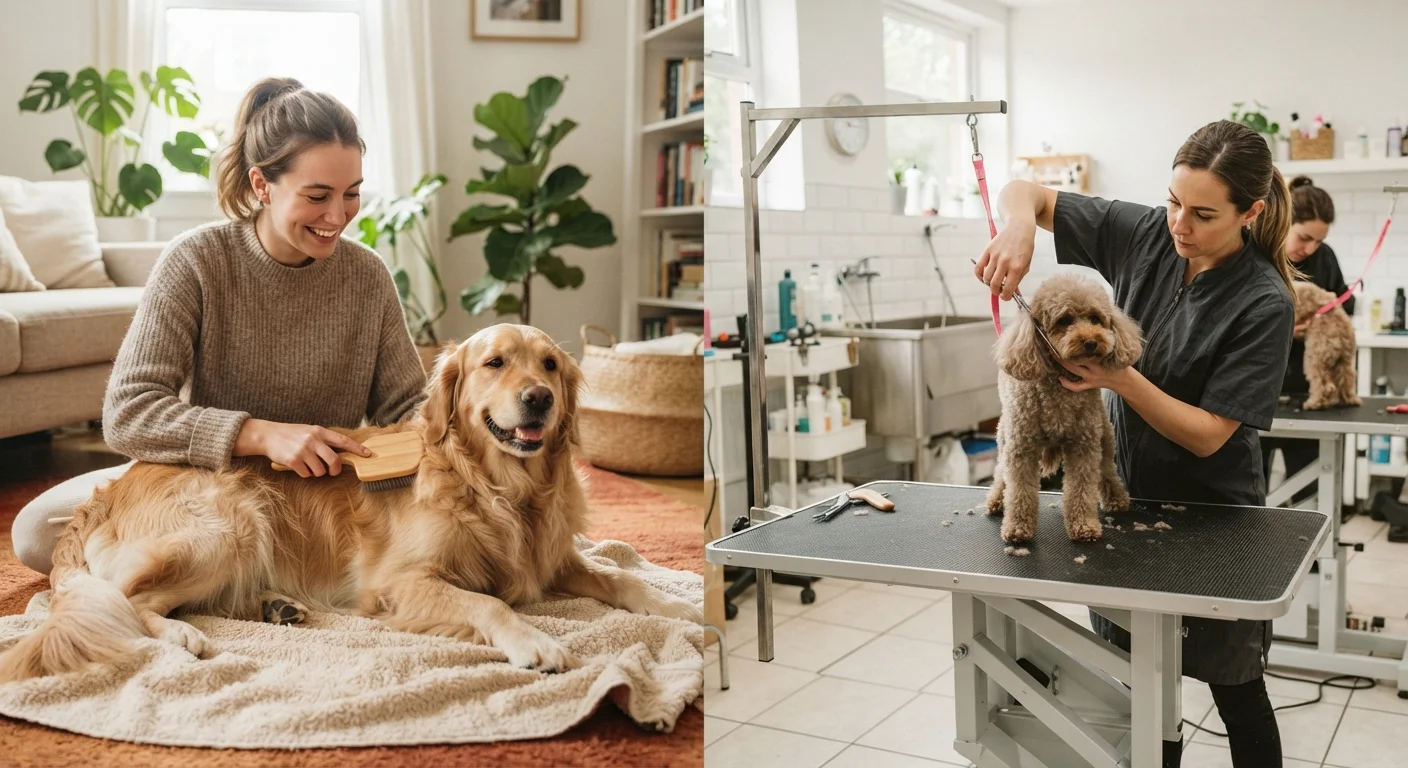
Dogs with medical conditions affecting their paws or nails — such as nail bed infections, abnormal nail growth, or conditions that cause sensitivity — should have nail care guided by a veterinarian. For context on what professional grooming actually involves versus what you handle at home, At-Home Grooming vs. Professional Grooming: What Each Involves offers a practical breakdown.
If a vet visit is already stressful for your dog, the skills you build during home handling sessions transfer directly to clinic settings. Preparing Your Pet for a Vet Visit Without the Stress covers strategies for making those appointments calmer for both of you.
Dark Nails Require Extra Caution
On dogs with dark or black nails, the quick is not visible from the outside. Trim only 1–2 mm at a time and look at the cut surface after each snip. When you see a pale oval appear in the center of the cross-section, stop — you are very close to the quick. Rushing this step is the most common cause of accidental cuts.
This article provides general educational information for pet owners and is not a substitute for professional veterinary advice. If your dog shows signs of pain, nail abnormalities, or persistent anxiety during grooming, consult your veterinarian.