
Why DIY Camera Installation Is More Accessible Than Ever
Home security cameras have shifted dramatically toward consumer-friendly design. Wireless options eliminate the need to run conduit through walls, and setup apps now walk users through network pairing in minutes. The skills required — using a drill, reading a Wi-Fi signal meter, navigating a smartphone app — are well within reach for most homeowners and renters.
That said, a camera on a wall is only as effective as the decisions made before and after mounting it. Placement strategy, network security, and ongoing maintenance are where most DIY setups either succeed or quietly fail. If you're building out a broader smart home ecosystem, the foundational smart home planning guide offers useful context on sequencing device additions to avoid common pitfalls.
What you will need
Planning Your Setup: Tools and Coverage Strategy
Before buying anything or touching a drill, your most important work happens on paper. Coverage planning determines whether your cameras actually deter and document — or simply exist. Most residential setups find four to six cameras sufficient for full perimeter coverage of a single-family home, but the right number depends entirely on your property's layout and the vulnerability points you've identified.
Power Drill & Drill Bits
Used to create mounting holes in exterior walls, soffits, or fascia boards.
Stud Finder
Locates wall studs or joists to ensure secure anchor points for heavier camera mounts.
Cable Clips or Conduit
Routes and protects wiring for wired cameras along walls and around corners neatly.
Network Cable Tester
Verifies PoE (Power over Ethernet) cable connections before finalizing wired camera runs.
Wi-Fi Analyzer App
Measures signal strength at each planned camera location before permanent mounting.
Test Camera Views Before Drilling
Use painter's tape or a helper holding the camera in position to preview the field of view on your phone app before committing to a mounting location. This saves you from filling unnecessary holes and repositioning after the fact.
For renters or those who want to avoid permanent modifications, adhesive mounts and battery-powered cameras are a practical alternative — just confirm that your lease permits camera installation before proceeding.
Installation Steps
Check Local Laws Before You Record
Recording laws vary by state and municipality. In many jurisdictions, cameras pointed at shared spaces, neighboring properties, or public sidewalks raise legal considerations around consent and surveillance. Review your local ordinances and, if you live in a multi-unit building, your lease or HOA rules before mounting any camera.
Map Your Coverage Zones
Walk the perimeter of your home and identify the highest-priority areas: front and back doors, garage entrances, and any low-visibility side passages. Security research consistently points to entry points as the most critical coverage zones. Sketch a rough floor plan and mark where you want a camera view, then note the nearest power outlet and Wi-Fi signal quality at each spot. Aim for overlapping fields of view at corners so there are no blind spots between cameras.
Assess and Strengthen Your Wi-Fi Network
Security cameras stream continuous video data, which strains a congested network. Use a free Wi-Fi analyzer app to check signal strength (look for -70 dBm or stronger) at each planned camera location. If signal is weak at exterior corners, consider adding a mesh node or a Wi-Fi extender before proceeding. For wired camera systems using Power over Ethernet (PoE), run CAT6 cable from a central PoE switch — this eliminates wireless interference entirely and is the most reliable option for permanent installations.
Mount the Cameras
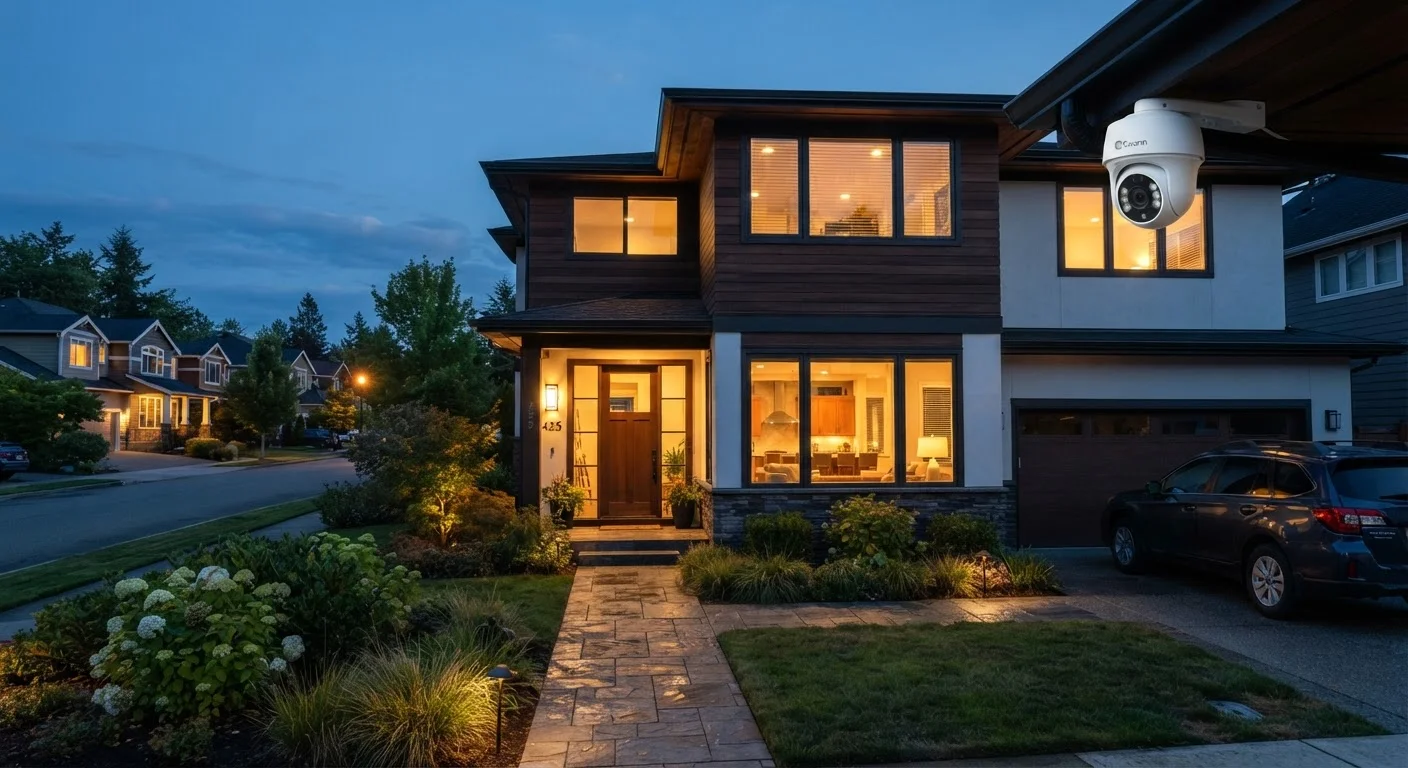
Use the manufacturer's mounting template (usually included in the box) to mark drill points. For masonry or brick, use masonry anchors. For wood siding or soffits, locate a stud where possible. Position outdoor cameras high enough — roughly 8–10 feet — to capture faces without being easily reached and tampered with. Run cables through weatherproof grommets where they penetrate exterior walls to prevent moisture intrusion.
Connect Power and Run Initial Setup
Plug in the camera or connect the PoE cable, then download the manufacturer's app on your smartphone. Most modern cameras use a QR code scan or Bluetooth handshake to join your Wi-Fi network — follow the in-app prompts carefully. During this step, you will be asked to create an account with the camera platform: use a strong, unique password and enable two-factor authentication if the service offers it.
Change Default Credentials and Update Firmware
Immediately after connecting, navigate to the camera's settings and change any default username or password to something unique. Then check for firmware updates — manufacturers regularly patch vulnerabilities discovered after devices ship. Enable automatic firmware updates if the option exists, or set a calendar reminder to check quarterly. This single step closes the most common attack vector for home cameras.
Configure Recording, Alerts, and Storage
Decide between cloud storage, local storage (microSD card or a network-attached recorder), or a hybrid approach. Cloud subscriptions typically offer motion-triggered clip history ranging from a few days to several weeks depending on the plan tier. Local storage avoids recurring fees but requires you to manage capacity. Set motion sensitivity zones within the app to reduce false alerts from passing cars or swaying trees — most apps let you draw custom detection regions on the camera's live view.
Test and Verify the Full System
Walk through each camera's field of view while watching the live feed on your app. Verify that motion alerts trigger correctly, that night vision activates when you dim the lights, and that recorded clips are saving to your chosen storage location. Check the camera's view during both day and night conditions before considering the installation complete. Document each camera's login, location, and firmware version for future reference.
Privacy and Ongoing Maintenance
Installing a camera system creates ongoing responsibilities. Security cameras — particularly cloud-connected ones — collect video data that is transmitted to and stored on third-party servers. Understanding what your camera platform retains, who can access it, and how long it is stored is worth reviewing in the platform's privacy policy before you commit. Our article on smart home device privacy breaks down what connected devices typically collect and how to reduce your exposure.
After installation, treat your camera system like any networked device: check for firmware updates regularly, review account access periodically, and audit which cameras are active and where they're pointed. A structured approach to this — covering every connected device in your home — is outlined in our room-by-room connected device audit. Cameras that are no longer needed or positioned incorrectly should be removed or repositioned rather than left running and forgotten.