
Why Repair Estimates Can Feel Like a Foreign Language
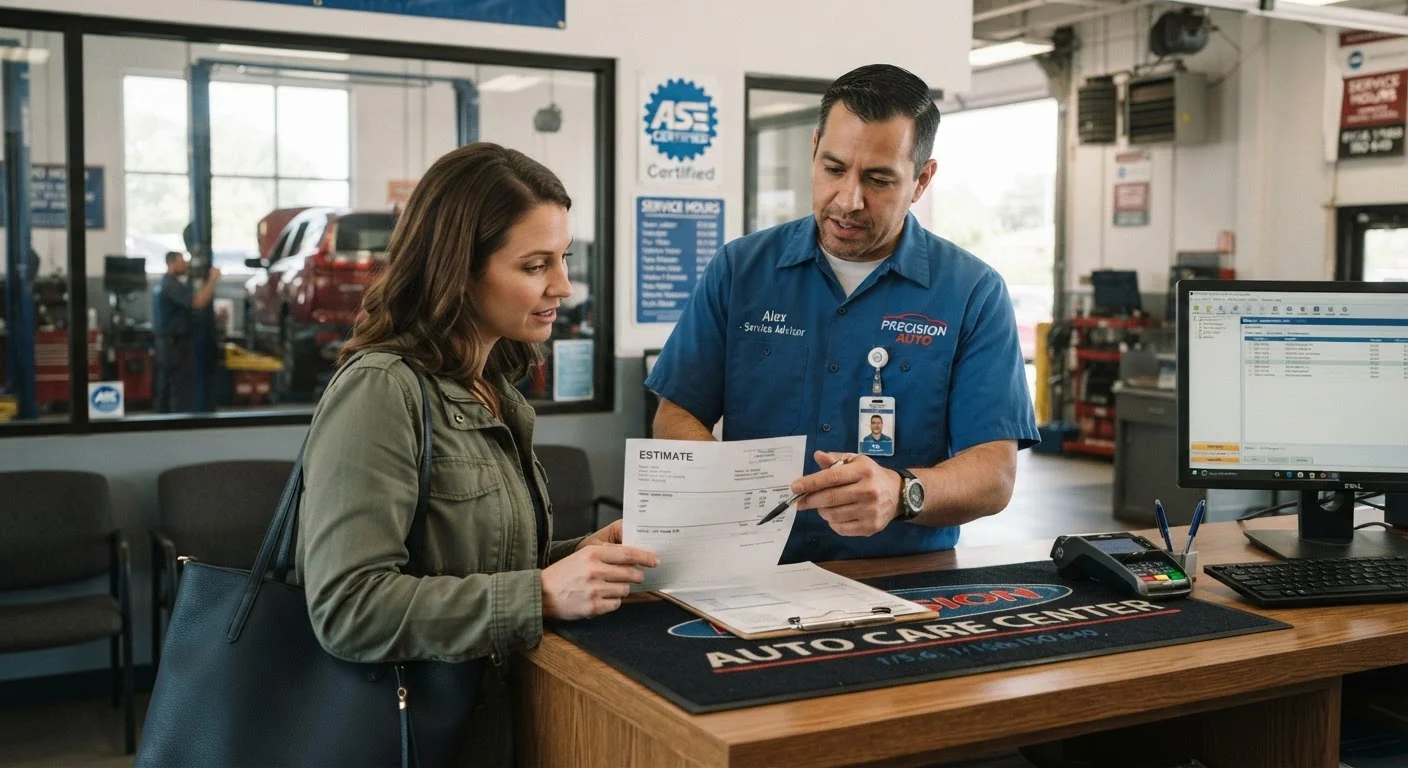
Auto repair estimates are designed to document work — not necessarily to communicate clearly with customers. The result is a page dense with labor codes, part numbers, and line items that can feel overwhelming the moment the service advisor slides it across the counter. Understanding the document's structure turns confusion into confidence and gives you a meaningful basis for asking questions.
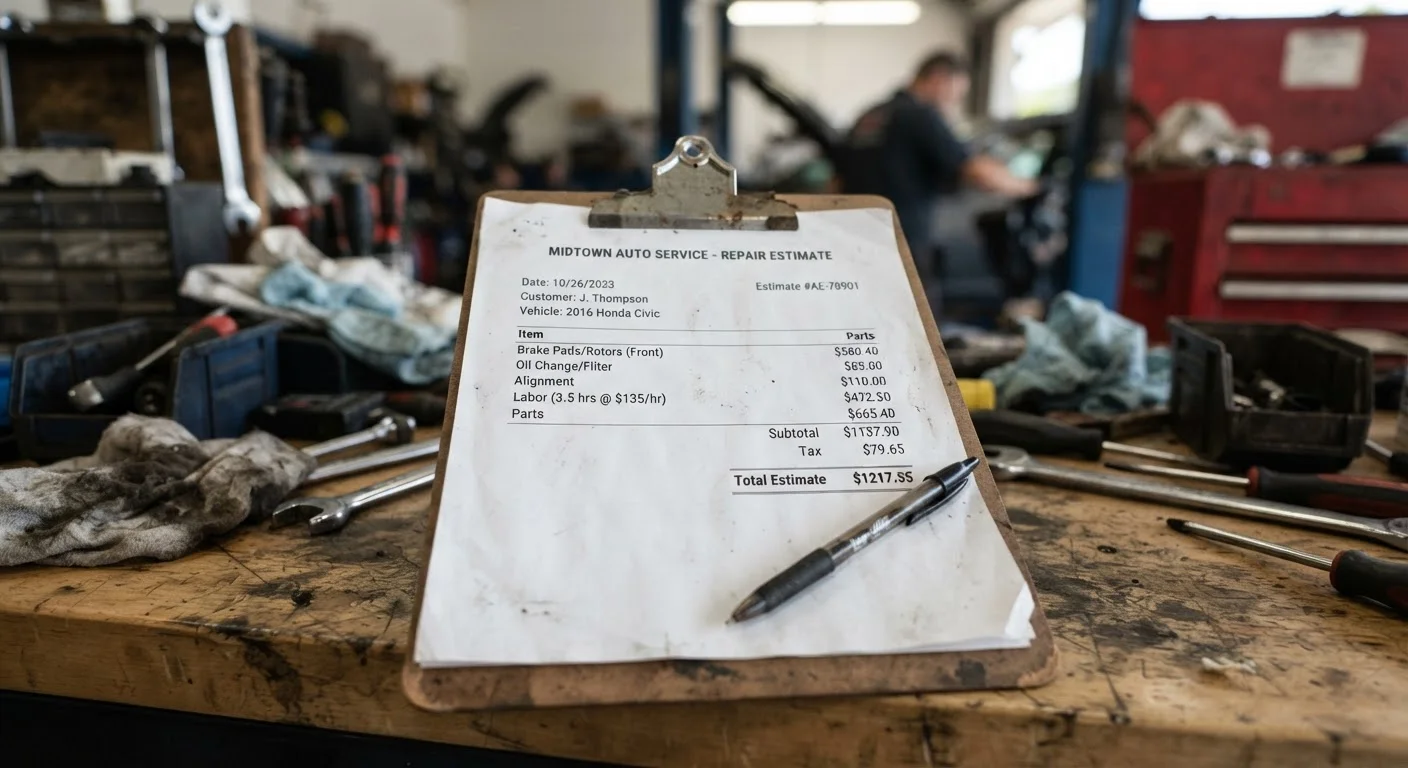
At its core, nearly every estimate is organized around three cost buckets: parts, labor, and shop fees. Each one follows its own pricing logic, and knowing how each works helps you spot errors, question unusual charges, and make an informed decision before you sign.
If you're evaluating a vehicle and wondering how maintenance costs factor into long-term ownership, see our guide on total cost of ownership for a broader financial picture.
What you will need
How to Read Your Estimate Step by Step
Work through the estimate methodically rather than jumping straight to the bottom-line total. Each section contains information that affects the final number and your decision-making.
Confirm the vehicle and complaint description
The top of every estimate should identify your vehicle — year, make, model, VIN, and mileage — along with a written description of the problem you reported. Verify these details are accurate before reading anything else. An error in the VIN can lead to wrong parts being ordered, and a vague complaint description may result in unnecessary diagnostic work.
Break down the parts lines
Each repair operation will list the parts it requires along with a unit price and quantity. Shops purchase parts at wholesale and bill customers at a marked-up retail price — this is standard practice, not hidden profit. The markup typically ranges from 20% to 50% above wholesale cost, depending on the shop and part type.
Look for whether parts are labeled OEM (original equipment manufacturer), OE-equivalent, or aftermarket. This distinction matters for fit, warranty coverage, and long-term reliability. Our article on OEM vs. aftermarket parts explains the real-world cost differences.
Understand how labor is calculated
Labor charges are based on a flat-rate system. Industry guides (published by sources such as Mitchell or Chilton) assign a standard time value to each repair operation — for example, 2.5 hours to replace a water pump on a specific engine. The shop multiplies that flat-rate time by their hourly labor rate, regardless of whether the technician finishes faster or slower.
Hourly rates vary widely by shop type and region. Dealership service centers generally charge more per hour than independent mechanics, though the work environment and technician specialization differ. See our overview of dealership vs. independent mechanic for a fuller comparison.
Scrutinize shop supply and miscellaneous fees
Near the bottom of most estimates you'll find a line for shop supplies — rags, cleaners, masking tape, disposal materials, and similar consumables. This is typically calculated as a percentage of the total labor charge, often between 5% and 15%, and is a legitimate cost of doing business. Similarly, hazardous material disposal fees cover the proper disposal of oil, coolant, or brake fluid.
These fees are standard, but they should be reasonable relative to the repair. A $400 shop supply charge on a $500 brake job warrants a question. Ask for a breakdown if any miscellaneous line item appears disproportionate.
Verify the authorization and change-order policy
Before signing, confirm two things in writing: the shop's policy on contacting you if the repair scope changes, and the maximum they are authorized to spend without calling you first. Federal and state consumer protection rules in most jurisdictions require shops to obtain authorization before exceeding a quoted amount — but the threshold and process vary by location. Understanding this upfront prevents surprise charges when you pick up the vehicle.
Get a Second Estimate for Major Repairs
For any repair quoted above $500, it's worth calling one or two other shops for a comparison quote. Provide the same vehicle details and described symptoms so the estimates are comparable. Price differences of 20–30% between shops are not unusual, and a lower quote isn't automatically a red flag — ask both shops to explain their parts source and labor rate.
Once you understand the line items, you'll be better equipped to use our companion guide on questions worth asking your shop before you give the go-ahead.
Don't Approve Based on the Total Alone
Approving an estimate without reviewing the line items means you may authorize work you don't need or miss an error in parts or labor hours. Take five to ten minutes to walk through each section before signing. If the service advisor seems reluctant to explain a charge, that's worth noting.
What to Do After You Review the Estimate
An estimate is an offer, not an obligation. Once you understand what's on the page, you have options. You can approve the work as written, request an itemized explanation of any line you don't understand, ask the shop to source alternative parts, or take the estimate to a second shop for comparison. Getting two or three estimates for repairs that exceed a few hundred dollars is a sound and common practice.
Keep in mind that some problems are time-sensitive. Certain repairs — particularly those involving brake systems, cooling, or engine oil — can worsen rapidly if deferred. Our article on repairs that compound when ignored explains which issues carry the steepest cost of delay.
If the shop needs to dig deeper before they can quote accurately — common with electrical faults or internal engine work — they may charge a diagnostic fee. Ask upfront whether that fee is waived if you proceed with the repair.
This article is for general informational purposes only. Labor rates, parts pricing, and shop practices vary significantly by region, vehicle type, and individual shop. Consult a qualified, licensed mechanic for advice specific to your vehicle and situation.