
Why the First Hour Matters
Unboxing a new computer is satisfying, but the decisions you make in the first hour of ownership set the baseline for how secure, fast, and reliable that machine will be for years. Many people skip straight to personalizing their desktop or installing apps — and end up with an unpatched system, weak account settings, and no backup plan. This guide takes you through setup in the right order, so nothing critical gets missed.
If you haven't yet decided what kind of computer to get, our beginner's guide to understanding computers walks through the key concepts before you buy. And if you're also new to smartphones, the approach overlaps — first-time smartphone setup tips cover similar ground for mobile devices.
What you will need
What You'll Need Before You Start
Setup goes smoothly when you have a few things ready in advance. You'll need a working internet connection — preferably the one your computer will use regularly — plus login credentials for your primary platform account. If you're planning to carry data over from an older machine, pause before doing that: make sure the new computer is fully updated and secured first.
Internet connection
Required to download system updates, activate accounts, and install software.
External hard drive or USB drive
Used to create an initial backup before loading personal data onto the new machine.
Password manager
Stores unique, complex passwords for every account so you don't reuse credentials.
If you're eventually passing your old computer along to someone else, be sure to follow the right process first. Our checklist for recycling or donating an old computer ensures your personal data is fully removed before the device changes hands.
Step-by-Step Setup Instructions
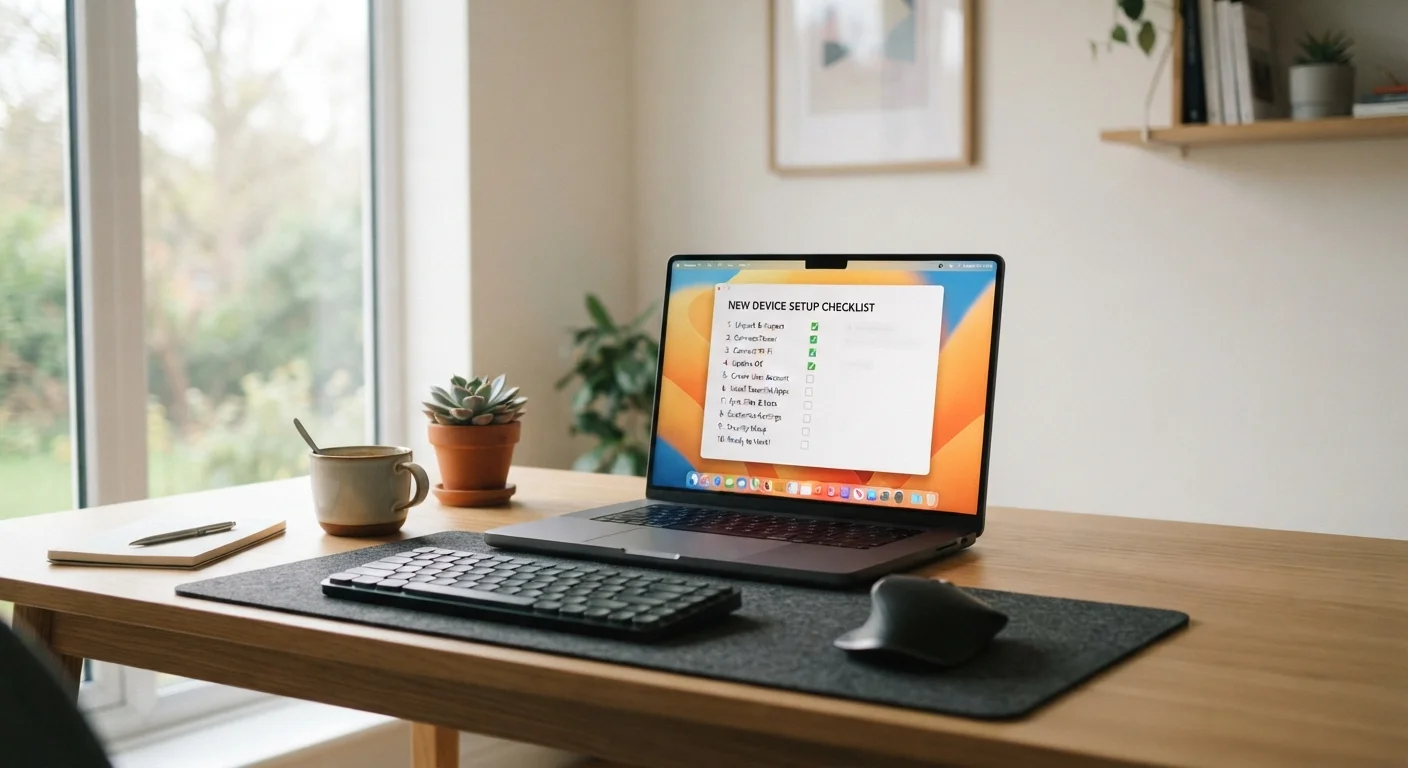
Follow these steps in order. Each one builds on the last — running updates before installing software, for example, ensures that the system doing the installing is already patched and more trustworthy.
Complete the initial OS setup wizard
Power on your computer and follow the on-screen prompts from your operating system — Windows, macOS, or ChromeOS. Connect to your Wi-Fi network when asked, and sign in to (or create) your primary account. On Windows this is a Microsoft account; on macOS, an Apple ID; on Chromebooks, a Google account. These accounts enable cloud backup, app purchases, and device recovery, so use a real email you control.
Install all available system updates
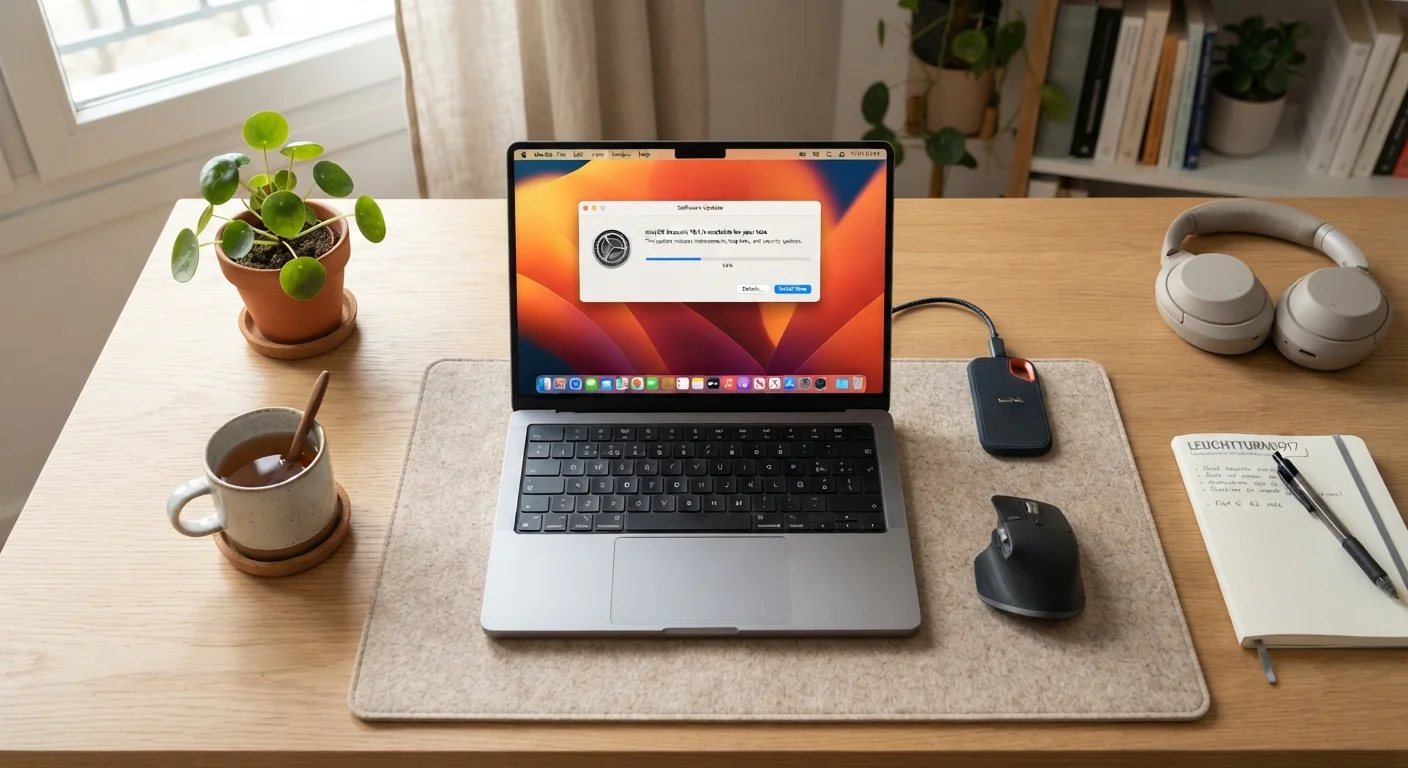
Before doing anything else, check for operating system updates. On Windows, go to Settings > Windows Update. On macOS, open System Settings > General > Software Update. Install everything available, then restart and check again — updates often unlock additional updates. This step patches security vulnerabilities that existed at the time your machine was manufactured.
Create a standard (non-administrator) user account for daily use
Your initial account is typically set as an administrator, meaning it can install software and change system settings without restriction. For everyday tasks — browsing, email, documents — create a second account with standard privileges and use that daily. If malware runs under a standard account, its ability to damage the system is substantially limited. Keep the admin account for software installs and system changes only.
Enable full-disk encryption
Encryption scrambles the data on your drive so it's unreadable without your login credentials. On Windows 11 Pro, this is called BitLocker (found in Settings > Privacy & Security > Device Encryption). Windows 11 Home offers Device Encryption under the same path on most modern hardware. On macOS, it's called FileVault, found in System Settings > Privacy & Security. Enable it, and save the recovery key somewhere secure — printed out or stored in a password manager, not just on the same machine.
Review privacy and security settings
Spend a few minutes in your system's privacy settings. Disable location access, microphone, and camera for any apps that don't genuinely need them. On Windows, check Settings > Privacy & Security. On macOS, review System Settings > Privacy & Security. Turn on the built-in firewall (macOS has one under the same menu; Windows Defender Firewall is enabled by default). Enable two-factor authentication on your primary account if you haven't already.
Set up automatic backups
A computer that hasn't been backed up is one hardware failure away from total data loss. Windows includes Backup and Restore and supports OneDrive for cloud sync. macOS has Time Machine, which works with an external drive. Configure at least one local backup (external drive) and consider a cloud option as a second layer. Set backups to run automatically — daily at minimum.
Install only the software you actually need
New computers — especially Windows machines from major retailers — often come with pre-installed trial software, games, and utilities you didn't ask for. Uninstall anything you won't use through Settings > Apps on Windows or by dragging to Trash on macOS. When adding new software, download only from official sources: the Microsoft Store, Mac App Store, or the developer's own verified website. Avoid third-party download aggregators, which sometimes bundle unwanted programs.
A Good Setup Habit Pays Off Long-Term
The time you invest in these steps during the first hour of ownership prevents hours of troubleshooting later. Once your machine is configured correctly, see our guide to keeping your computer running smoothly for the ongoing habits that extend its useful life.
After Setup: What to Do Next
Once your machine is updated, encrypted, backed up, and running only the software you chose, you're in a genuinely strong position. From here, the priority is consistency: keep automatic updates enabled, back up regularly, and be thoughtful about new software installs going forward.
If you're building out a broader home tech environment — smart speakers, connected displays, or automation devices — our guide to building a first smart home setup explains how to plan a connected home without common beginner pitfalls.
Save Your Recovery Key Before You Need It
When you enable full-disk encryption, your operating system will generate a recovery key — a long string of characters that unlocks the drive if you're ever locked out. Write it down or store it in a password manager outside the encrypted device. Losing this key means losing access to your data permanently, with no workaround.