
Why a Pre-Purchase RV Inspection Is Non-Negotiable
Used RVs can carry hidden problems that are expensive - sometimes catastrophically so - to repair after the sale. Unlike purchasing a used car, buying an RV means evaluating both a vehicle and a dwelling simultaneously. Roof delamination, soft floors from water intrusion, deteriorated propane lines, and faulty inverters are just a few issues that a casual walkthrough will miss entirely.
If you're weighing the used market, our overview of new versus used RV trade-offs covers what the price gap really represents. And if you're still calibrating whether RV ownership is right for you, renting an RV first offers hands-on perspective before you commit financially.
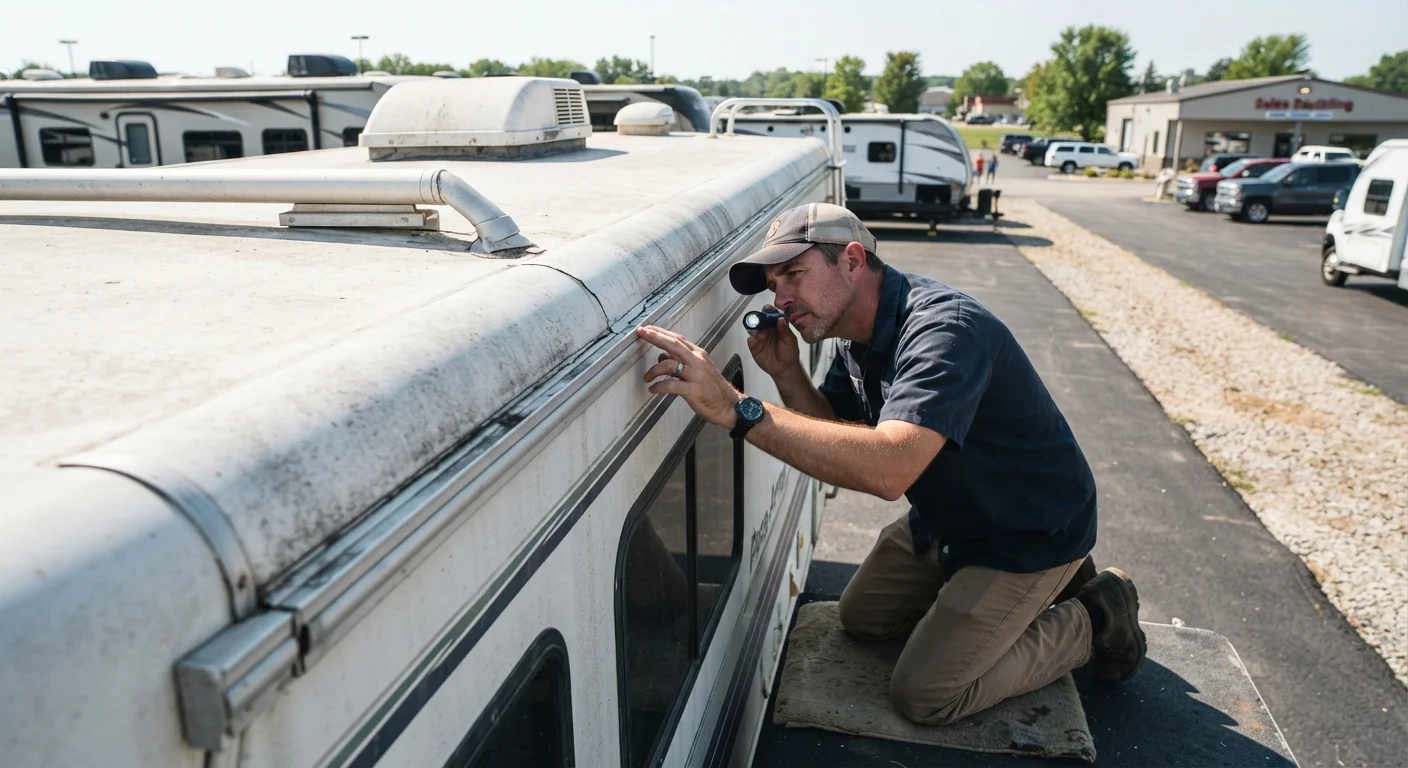
This checklist is designed to be used on-site, in daylight, with adequate time. Schedule at least 90 minutes minimum - more for larger Class A motorhomes or fifth-wheels. Bring a flashlight, a moisture meter if possible, and wear clothes you can crouch and crawl in.
Flashlight or headlamp
Illuminate dark compartments, undercarriage areas, and ceiling cavities during inspection.
Moisture meter
Detect elevated moisture levels in walls and floors before visible staining appears.
Outlet tester (plug-in)
Quickly verify polarity and grounding at every 120V outlet.
Ladder
Safely access the roof of taller Class A, Class C, or fifth-wheel units.
Soap bubble solution
Test propane connections for leaks at fittings and valves.
Certified RV inspector
Provide a professional, documented assessment of all systems - especially recommended for purchases above $20,000.
How to Use This Checklist
Work through each group in order. The exterior shell and roof should always come first - water damage discovered late in an inspection often explains problems you'll notice inside. Avoid skipping sections because the seller seems trustworthy or the rig looks clean; cosmetic presentation can mask structural concerns.
Note that this checklist is not a substitute for a certified RV inspector. For any rig priced above $20,000, or if you lack mechanical confidence, hiring a professional inspector is strongly advisable. Their findings may be negotiating leverage - or the reason you walk away entirely. For comparison, our used vehicle inspection checklist outlines similar principles for standard cars and trucks.
Never Skip the Propane Leak Test
Propane system faults are a fire and explosion hazard. Do not rely on a visual check alone - test every fitting and connection with a soap-bubble solution or have the system pressure-tested by a qualified technician. If the seller refuses to allow a propane test, walk away from the deal.
Finally, understand that even a diligent inspection cannot guarantee every latent defect will surface. Go in informed, go in thorough, and be prepared to walk away if anything raises serious doubt.
Roof and Exterior Shell
Interior Water Damage and Floors
Slide-Outs and Awnings
Electrical Systems
Plumbing and Propane
Chassis, Frame, and Mechanical (Motorhomes)
After the Inspection: What to Do with Your Findings
Once you've completed the checklist, compile your findings before discussing price. Documented issues - especially anything touching the roof, frame, or propane system - become negotiating points. Get repair estimates in writing from an RV service center if possible.
If the seller is unwilling to allow a thorough inspection or discourages certain checks, treat that as a significant red flag. A legitimate private seller or dealer will generally cooperate with a reasonable inspection process.
Avoid Purchasing Without Proof of Title
Confirm the seller holds a clear title in their name and that the VIN on the title matches the VIN plate on the vehicle. Liens that haven't been discharged can follow the unit to its new owner. Run a title history check through your state's DMV or a reputable vehicle history service before finalizing any transaction.
If the inspection passes and you move forward, keep records of everything you observed. Those notes become useful when winterizing your RV for the first time, or when diagnosing issues that emerge after your first few trips. Understanding what was already marginal at purchase helps you prioritize early maintenance.
This article is for general informational and educational purposes only. It is not a substitute for advice from a certified RV inspector, licensed mechanic, or other qualified professional. Always consult appropriate experts before making significant financial decisions.