
Why a Structured Inspection Matters
Buying a used vehicle without a methodical inspection is one of the costlier mistakes a consumer can make. Sellers aren't always forthcoming about past accidents, deferred maintenance, or hidden rust, and a quick walk-around rarely surfaces problems that live underneath the car or inside the engine bay. A checklist keeps your attention from drifting and ensures you cover every zone — even when a smooth-talking seller is hurrying you along.
Before you visit, do your homework. Pull a vehicle history report using the VIN and review it for title brands, reported accidents, odometer discrepancies, and ownership count. Our practical walkthrough for researching a car before you buy covers that process in detail. Then arrive with this checklist in hand.
Schedule the inspection for daylight hours on dry pavement. Bring a flashlight, a magnet (to detect body filler beneath paint), and an OBD-II scanner if you own one. Ask the seller to have the car cold — not warmed up — so you can observe a cold start.
Flashlight or work light
Illuminate dark areas in the engine bay, under the vehicle, and in the trunk where defects are easy to miss.
Refrigerator magnet
Detect body filler beneath paint — filler doesn't attract a magnet, helping you identify repaired collision damage.
OBD-II scanner
Read stored and pending fault codes from the vehicle's computer, including codes that may have been cleared recently.
Vehicle history report (VIN-based)
Verify reported accidents, title brands, odometer readings, and ownership history before the physical inspection.
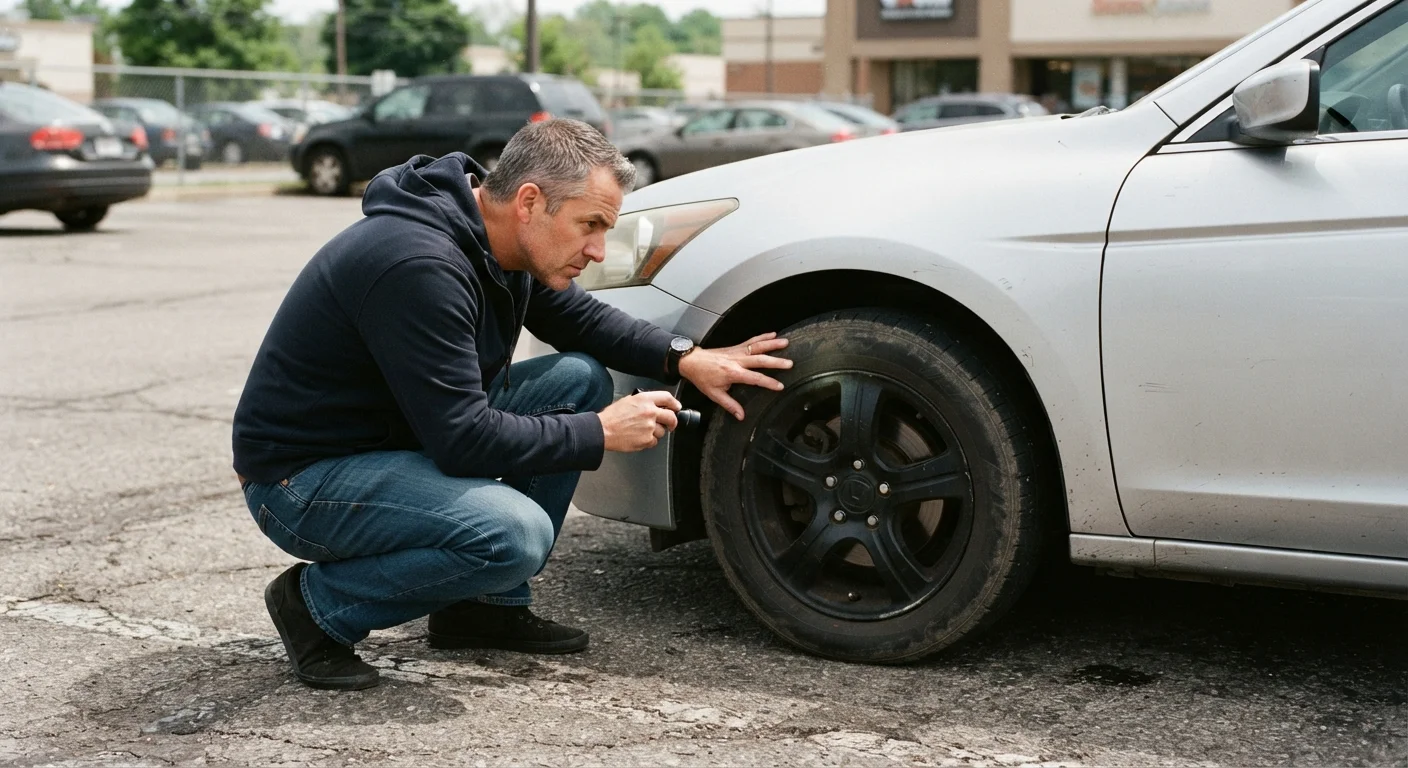
Tire tread depth gauge
Measure remaining tread precisely rather than estimating by eye, so you can factor replacement cost into your decision.
How to Use This Checklist
Move through each category in sequence. Flag items that concern you with a note rather than dismissing the car outright — context matters. A small rust bubble on a rocker panel is different from a fully compromised floor pan. Bring your notes to any negotiation or to the independent mechanic you hire for a pre-purchase inspection (PPI).
Never Skip the Pre-Purchase Inspection
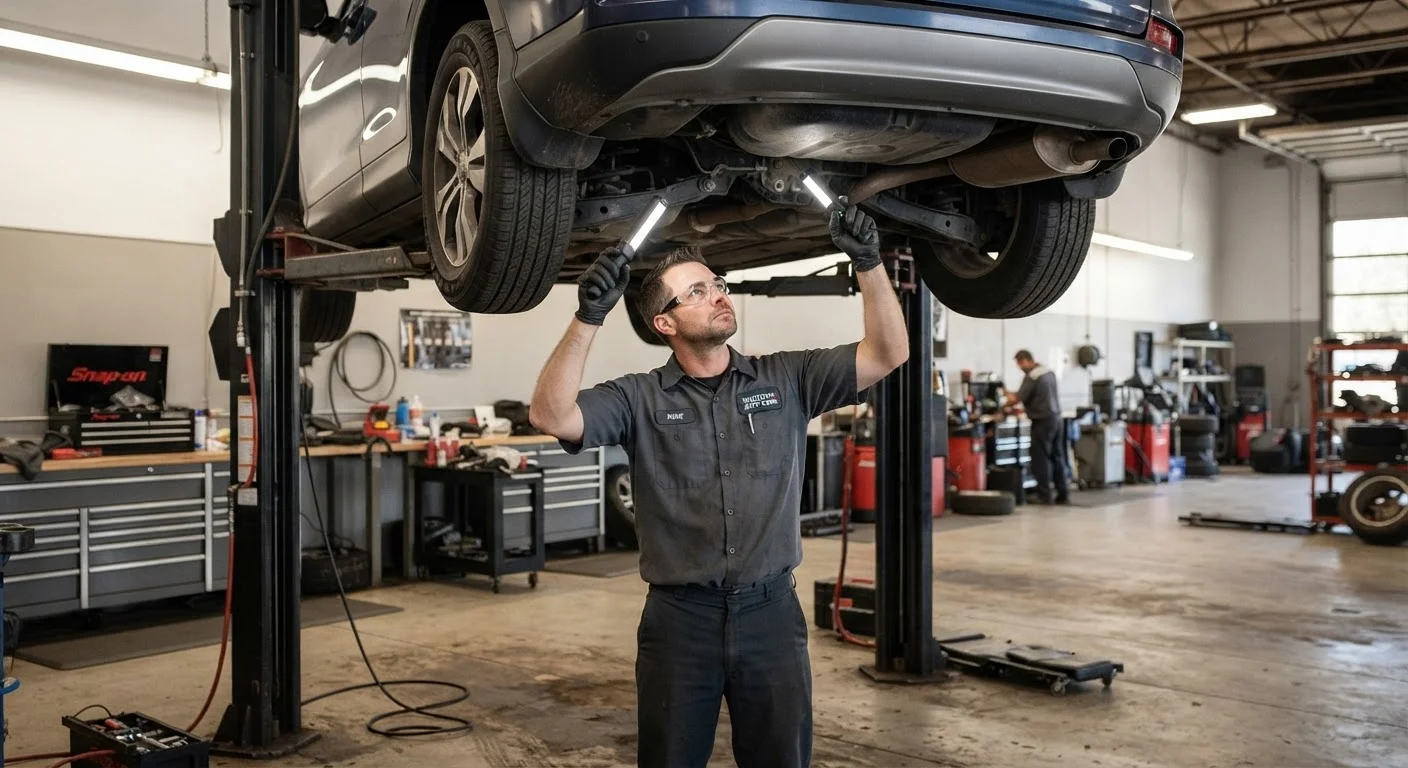
A checklist conducted by a buyer is a useful screening tool, but it is not a substitute for a professional pre-purchase inspection by an independent, licensed mechanic. A shop with a lift can evaluate the suspension, brakes, and undercarriage with far greater precision than a visual walk-around allows. Budget for a PPI as part of any serious used-car purchase — it can surface problems that make the difference between a sound investment and a costly mistake.
If the vehicle passes your visual and mechanical checks, the next step before signing anything is understanding what a professional inspection actually covers. See what a vehicle inspection actually checks for a clear breakdown of what licensed inspectors evaluate and where their scope ends.
Exterior & Body
Under the Hood
Interior & Electrical
Underneath & Tires
Test Drive
After the Inspection: Next Steps
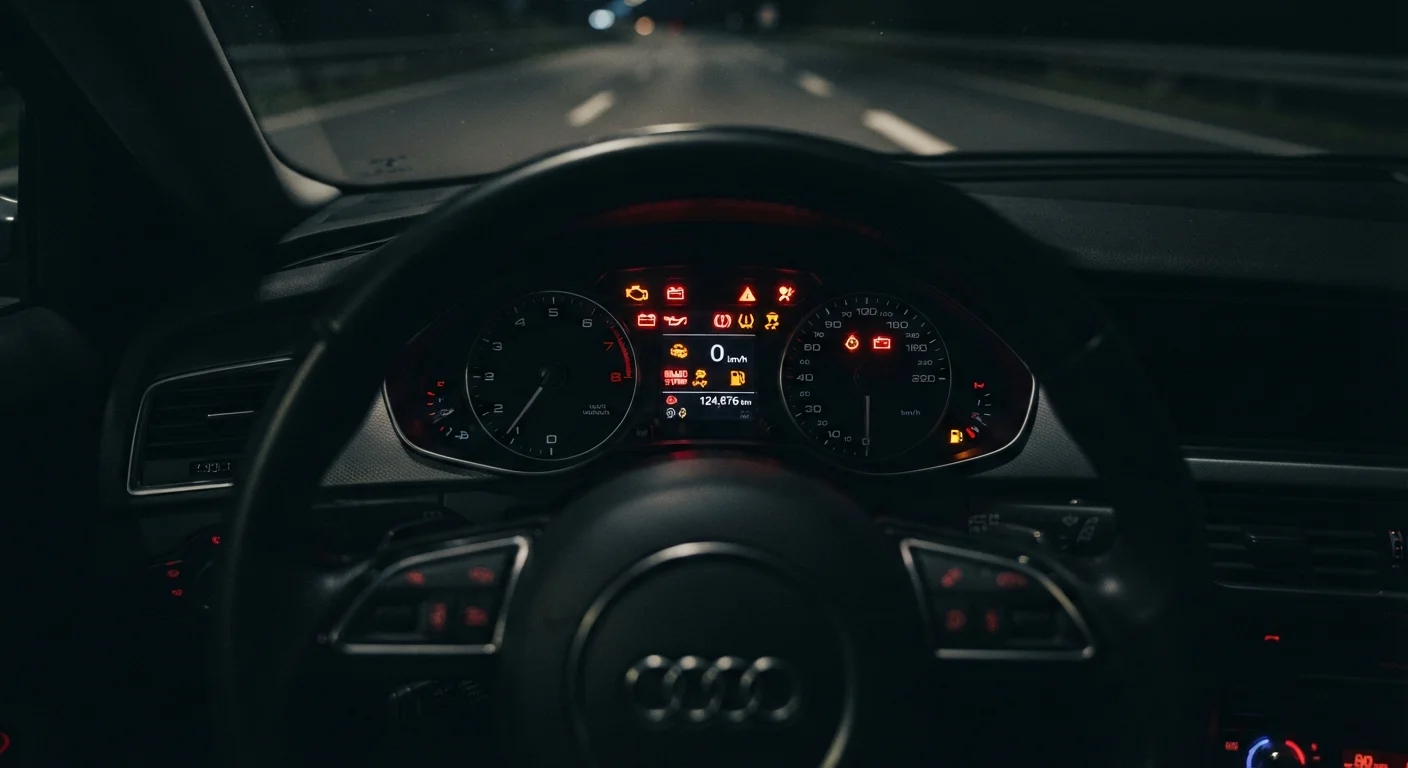
Once you've completed the checklist, tally your flags. Minor cosmetic issues are normal on used vehicles; mechanical, structural, or electrical concerns are not. Any dashboard warning light that appeared during the test drive requires a specific explanation — our guide to dashboard warning lights explains what each indicator signals and how urgent it is.
If the car passes your inspection but you still have doubts, invest in a pre-purchase inspection from an independent shop. A mechanic with a lift, a scan tool, and no financial stake in the sale will catch things you cannot. Check with the shop beforehand about what their PPI covers and the cost — typically a modest flat fee that can save you significantly if it surfaces a hidden problem. For guidance on working with repair professionals, see questions worth asking your shop before approving a repair.
Beware of a Pre-Warmed Engine
If a seller has the car running when you arrive, ask them to let it cool completely before you restart it. A warm engine masks hard-starting problems, unusual cold-start noises, and smoke at startup that might indicate worn rings or valve seals. If the seller refuses or seems evasive about this request, treat it as a significant red flag.
If you're purchasing from a private seller in another state, registration, title transfer, and emissions compliance add another layer of complexity. Review what changes when buying a car out of state before you sign.
This article provides general educational information about used vehicle inspections. It is not a substitute for evaluation by a qualified automotive technician. Always consult a licensed mechanic before making a significant vehicle purchase.