
Why Pre-OBD Vehicles Demand a Different Mindset
Modern vehicles report problems through the On-Board Diagnostics II (OBD-II) port — a standardized interface that became mandatory on U.S. passenger vehicles from the 1996 model year. Plug in a scan tool and the car tells you what's wrong. Classics built before that era offer no such shortcut. A vehicle from the 1950s, 1960s, or even mid-1980s communicates through symptoms: rough idle, hard starting, unusual exhaust color, brake pedal feel, or coolant smell. Recognizing those signals requires familiarity with how the systems actually work.
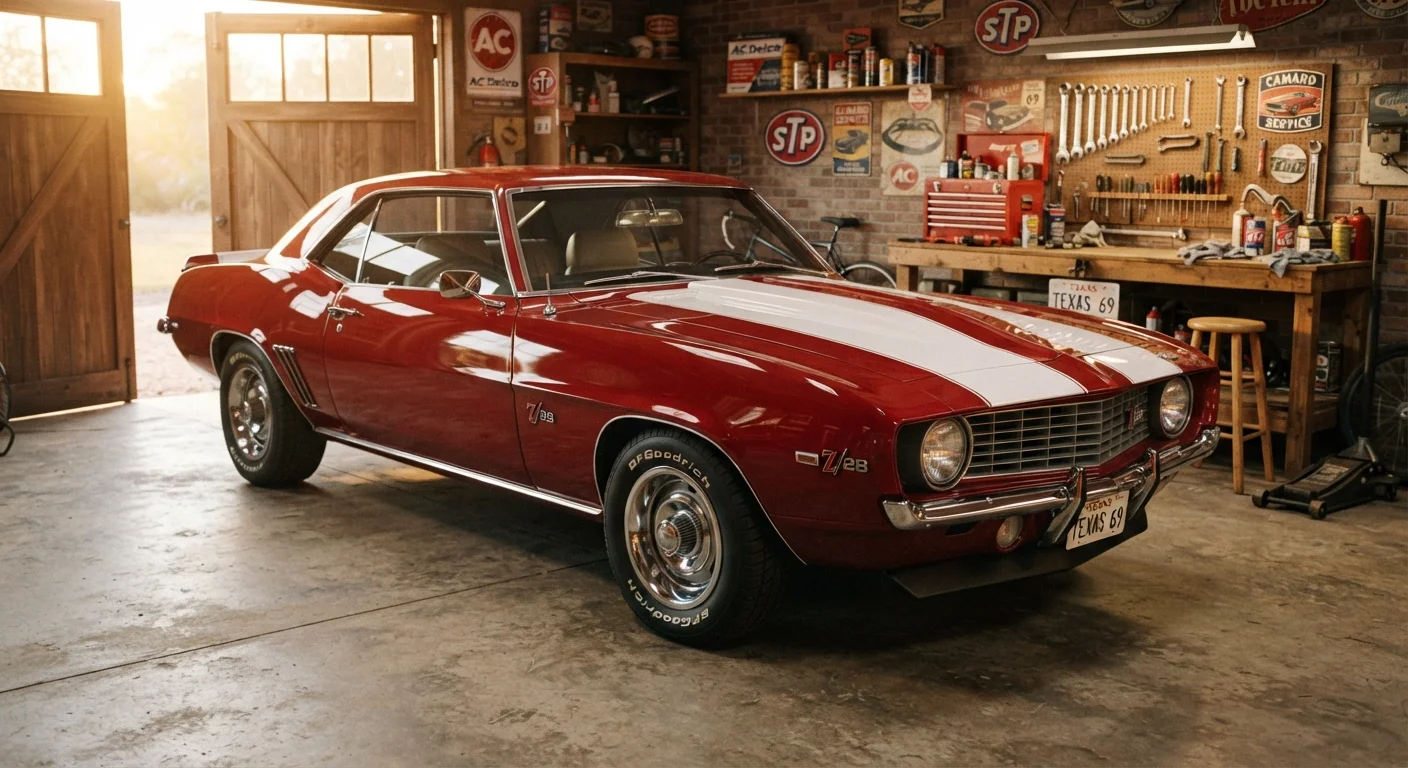
This isn't a limitation so much as a different skill set. Pre-emissions-era vehicles use mechanical fuel delivery, points-based or early electronic ignition, and hydraulic systems with tolerances that drift gradually rather than fail abruptly. Maintaining them well means staying ahead of that drift through scheduled, hands-on inspection — not waiting for a warning light that will never illuminate. For anyone new to the hobby, Classic Car Ownership: The Full Picture Before You Commit offers a grounding look at what that commitment realistically involves.
Core Maintenance Practices for Classic Vehicles
The following practices reflect the fundamentals that experienced classic car owners and vintage vehicle mechanics consistently apply. They are not exhaustive for every make and model — always consult the factory service manual specific to your vehicle.
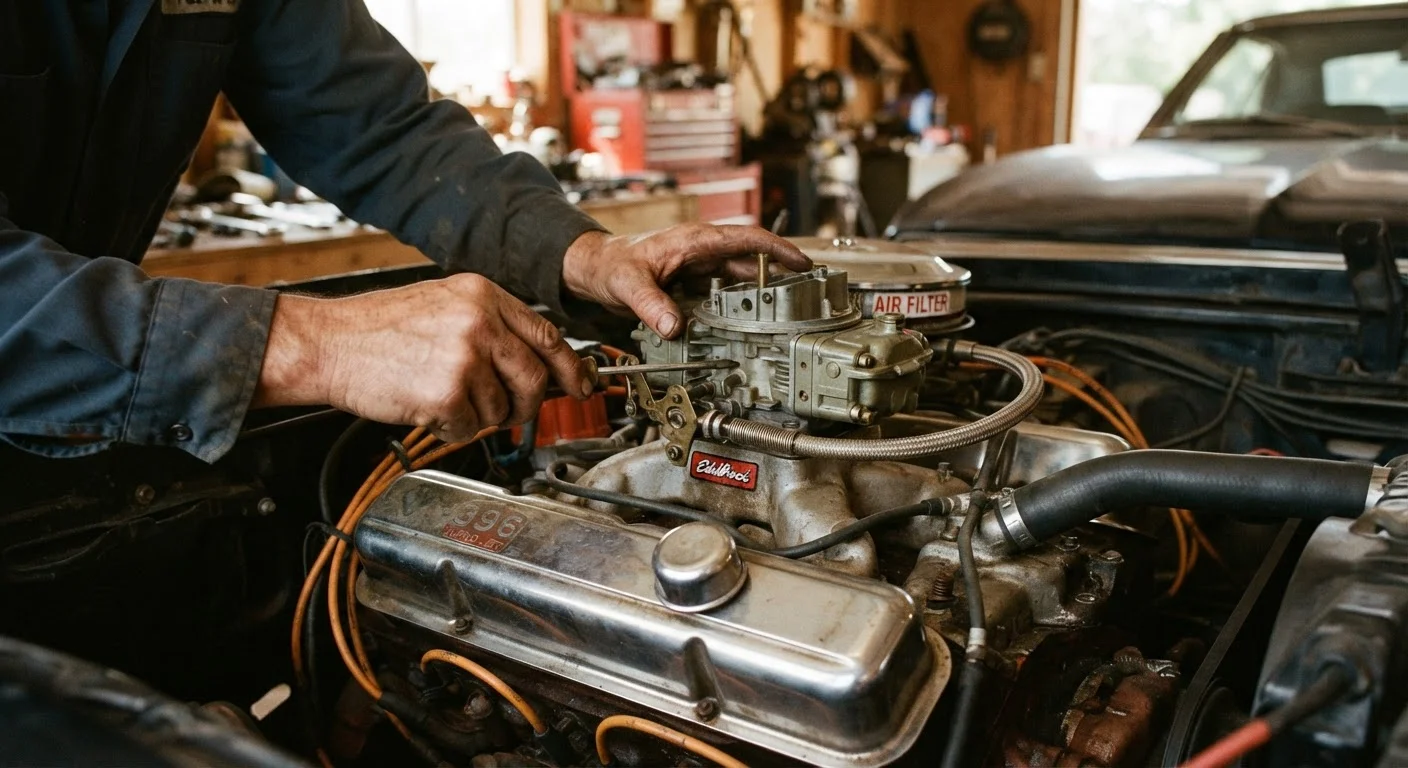
Service the carburetor on a defined interval, not just when problems appear.
Carburetors accumulate varnish deposits from fuel that sits, and jets can partially clog long before a noticeable driveability problem emerges. Regular cleaning and inspection of the float, needle valve, and accelerator pump catches deterioration before it causes a breakdown.
Inspect and adjust ignition timing and points (or early electronic ignition) at every tune-up interval.
Points-based distributors wear at the rubbing block, causing timing to retard gradually — reducing power and fuel economy before causing a noticeable miss. Even early electronic ignition modules can drift. Correct timing is foundational to engine health on pre-OBD vehicles.
Check and condition rubber fuel lines, hoses, and seals on a scheduled basis.
Rubber components degrade from heat cycling, ozone exposure, and contact with ethanol-blended fuels — a chemistry many older fuel systems were not designed to handle. A cracked fuel line near a hot exhaust component is a fire hazard, not simply a driveability issue.
Inspect the cooling system — hoses, thermostat, radiator cap, and coolant condition — every season.
Older cooling systems often run tighter tolerances and smaller reserve capacity than modern designs. A failing radiator cap that can no longer hold rated pressure, or a thermostat stuck partially open, can allow chronic overheating that damages head gaskets or warps aluminum heads without triggering any warning beyond a temperature gauge climb.
Lubricate chassis grease fittings (Zerk fittings) at every oil change or per the factory schedule.
Many classic vehicles have greaseable ball joints, tie rod ends, and U-joints that require periodic lubrication — a maintenance step that has been engineered out of most modern vehicles. Neglecting these fittings accelerates wear and can result in component failure.
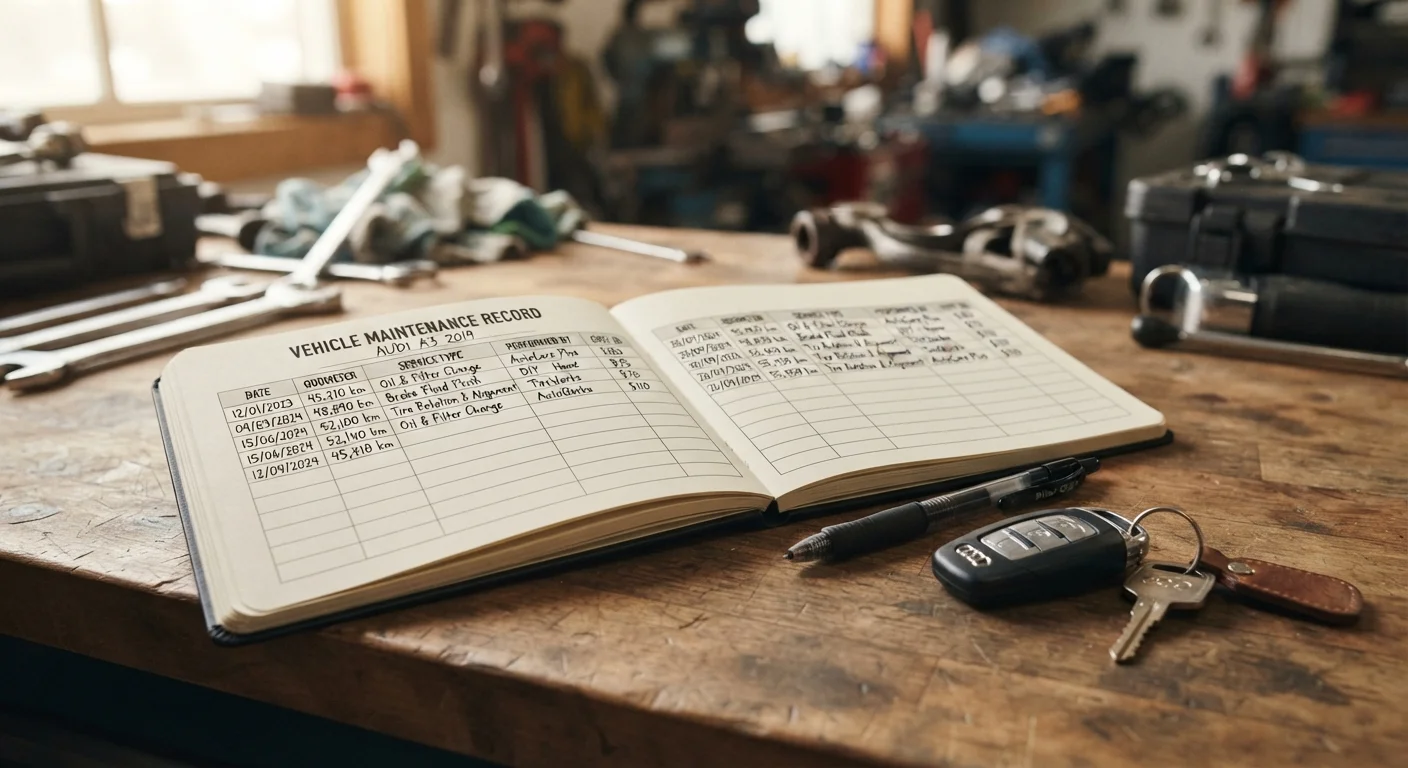
Keep a paper or digital service record specific to the vehicle, noting every part number, specification, and observation.
Classic vehicles often change hands multiple times, and institutional knowledge about what has been done — and with what parts — frequently disappears. A detailed log helps future diagnostics and adds demonstrable value at resale. Documentation also matters for vehicles with historical significance.
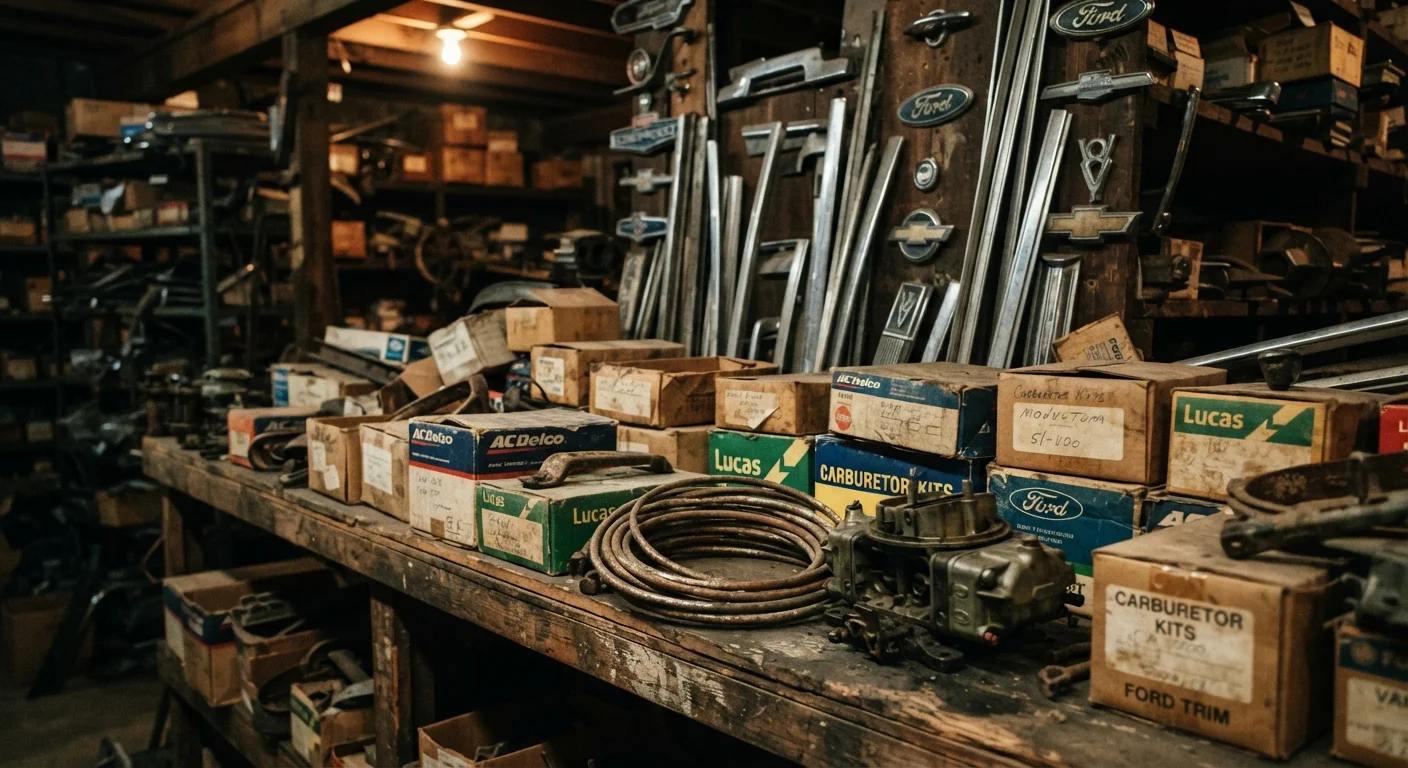
When sourcing components for these maintenance tasks, note that parts availability varies widely by era and manufacturer. Sourcing Hard-to-Find Parts for a Vintage Vehicle covers the main avenues, from new-old-stock to reproduction suppliers.
Fluids, Materials Compatibility, and Common Mistakes
Ethanol Blends and Older Fuel Systems
Most gasoline sold in the United States today contains up to 10% ethanol (E10), and E15 is increasingly available. Many fuel system components on vehicles built before the mid-1980s — including rubber diaphragms, float materials, and some metal alloys — were not designed for sustained ethanol exposure. Ethanol can degrade certain rubber compounds and act as a solvent that loosens tank sediment into the fuel system. If your classic is driven regularly on pump gas, inspecting fuel system components more frequently and considering ethanol-compatible replacement materials where available is a reasonable precaution. Consult a mechanic familiar with vintage vehicles for guidance specific to your fuel system.
One of the most consequential decisions a classic owner makes involves fluid selection. Many rubber seals, gaskets, and metal alloys used before the 1980s were formulated around fluid chemistries that have since changed. Standard modern brake fluid (DOT 3 or DOT 4 glycol-based) is generally compatible with older brake systems, but some owners of vehicles with natural rubber seals find that a fluid explicitly labeled compatible with older materials performs better — verify against your service manual. Similarly, modern coolant formulations containing silicate inhibitors or OAT (Organic Acid Technology) chemistry can be aggressive toward older aluminum and copper-brass radiators; a traditional green coolant or a specifically labeled vintage-compatible formulation is often the safer choice.
Engine oil is another area where the details matter. Pre-emissions engines with flat-tappet (solid or hydraulic lifter) camshafts depend on a zinc and phosphorus additive compound known as ZDDP for cam and lifter protection. Many modern oil formulations have reduced ZDDP levels to extend catalytic converter life — a consideration irrelevant to an engine that predates catalytic converters. Oils marketed for classic or vintage engines, or diesel-rated oils that retain higher ZDDP levels, are frequently recommended by vintage engine builders for this reason. Consult a qualified mechanic or vintage engine specialist before making a selection.
Keeping a running log of every fluid change, specification used, and inspection result pays dividends for classics, where institutional memory about the vehicle's history is often incomplete. Keeping a Vehicle Maintenance Log — and Why It Pays Off explains what to track and how to structure those records effectively.
Brakes, Steering, and Safety Systems on Older Vehicles
Safety systems on pre-modern vehicles are functional but operate on narrower margins than contemporary designs. Drum brake systems — standard on many classics — require periodic inspection of wheel cylinders for seepage, shoe lining thickness, and proper adjustment of the self-adjusting mechanism (where fitted). A spongy pedal or uneven pull warrants immediate inspection; brake hydraulics should never be deferred. Drum Brakes vs. Disc Brakes on Classic Cars covers upgrade considerations for owners weighing authenticity against modern stopping performance.
Manual steering boxes and recirculating-ball power steering units require periodic adjustment and fluid checks distinct from modern rack-and-pinion systems. Excessive play at the wheel — more than two inches of free movement in most vintage specifications — typically indicates a steering box in need of adjustment or rebuild. These tasks are best assessed by a mechanic experienced with vintage vehicles, as improper adjustment can create unsafe handling characteristics.
Brake, steering, and suspension work on any vehicle involves safety-critical components. If you are uncertain about your ability to perform or evaluate any of this work correctly, consult a qualified mechanic before operating the vehicle.