
Understanding the Scope Before You Start
Classic car restoration is not a single task — it is a sequence of overlapping disciplines that can span months or years depending on the vehicle's condition, your goals, and available resources. Before a single bolt is turned, experienced restorers define the project's intended outcome: a fully documented concours-quality rebuild, a reliable driver-quality restoration, or something in between. Those goals determine every decision that follows, from parts sourcing to paint code accuracy.
If you are new to vintage vehicles, the First-Timer's Roadmap to the Classic Car World provides essential context on eras, terminology, and what to realistically expect. And before committing to a project car, read Classic Car Ownership: The Full Picture Before You Commit — it covers storage, parts availability, and ongoing costs that affect every restoration budget.
Restoration costs routinely exceed initial estimates. Establish a realistic budget with a contingency reserve of at least 20–30%, and decide early whether you will perform work yourself, hire specialists, or use a combination of both.
Define Your Restoration Level First
Before purchasing a project car, decide whether you are targeting a show-quality concours restoration, a reliable driver-quality build, or a resto-mod with modern upgrades. Each path has different cost structures, parts sourcing strategies, and time commitments. Changing direction mid-project is expensive and time-consuming.
Disassembly and Documentation
Systematic disassembly is the foundation of any successful restoration. Rushing this phase creates reassembly problems that are far more expensive to fix than the time saved at teardown.
Photography is non-negotiable. Capture every panel gap, wiring harness routing, bracket orientation, and fastener location before anything is removed. Use numbered bags and labels for hardware. Many restorers also use video walkthroughs to record how components fit together.
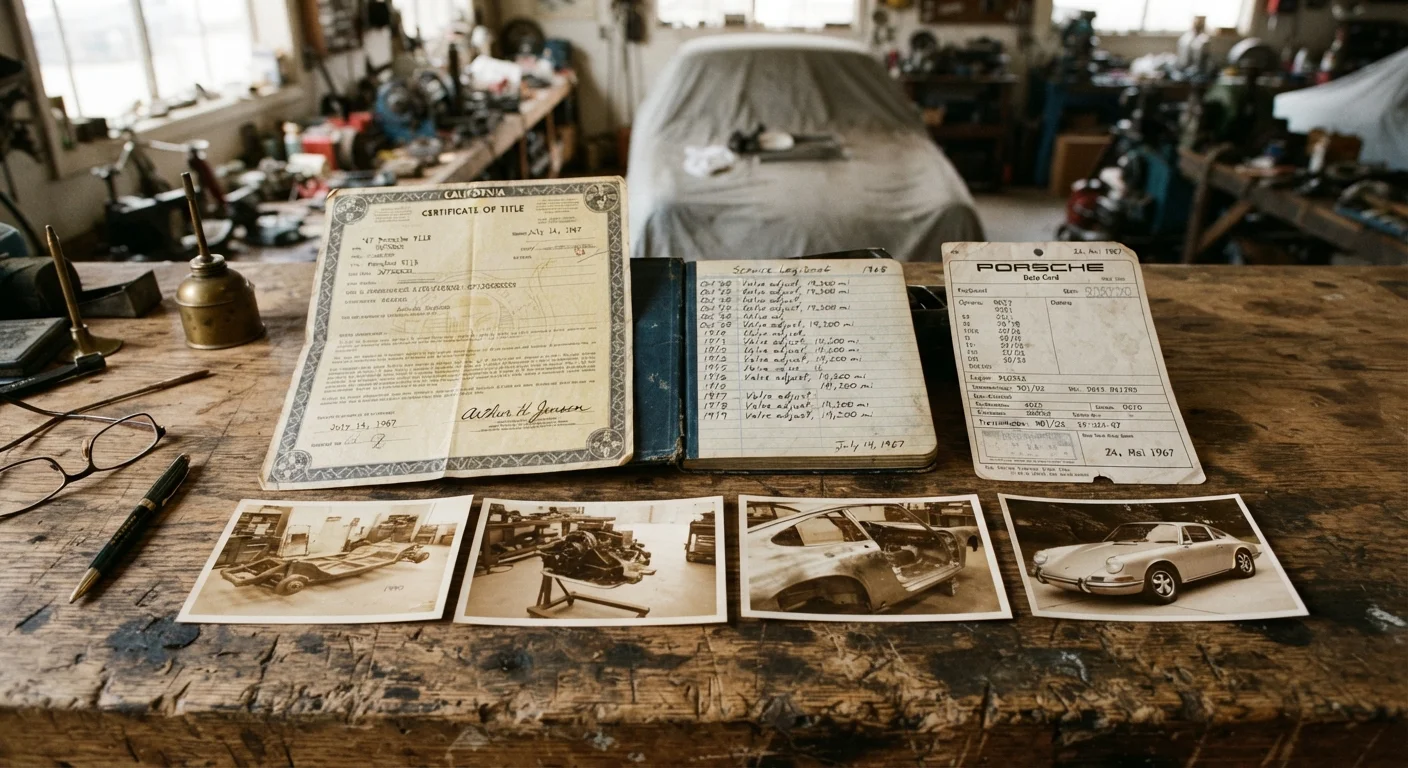
Cross-reference what you find against the vehicle's documentation. The paper trail every classic car should have — build sheet, factory options list, and prior service records — lets you verify whether existing components are original, replacement, or incorrect. Deviations from factory spec matter significantly if the finished car will be shown or resold.
60–70%
Share of restoration budget often spent on bodywork
Industry estimates from restoration professionals consistently place metalwork and paint as the dominant cost category in full restorations.
2–5 years
Typical timeline for a full frame-off restoration
Restoration industry surveys suggest most comprehensive, frame-off projects take between two and five years when performed by dedicated hobbyists.
30%+
Recommended budget contingency for hidden repairs
Experienced restorers and shop owners routinely advise setting aside at least 20–30% above initial estimates to cover unexpected structural or mechanical findings.
Strip the car to bare body shell if full metalwork is planned. Remove glass, trim, drivetrain, suspension, and all wiring before sending the body to media blasting or chemical stripping. This exposes hidden rust and structural damage that cannot be assessed on an assembled car.
Bodywork: Metal, Rust, and Paint
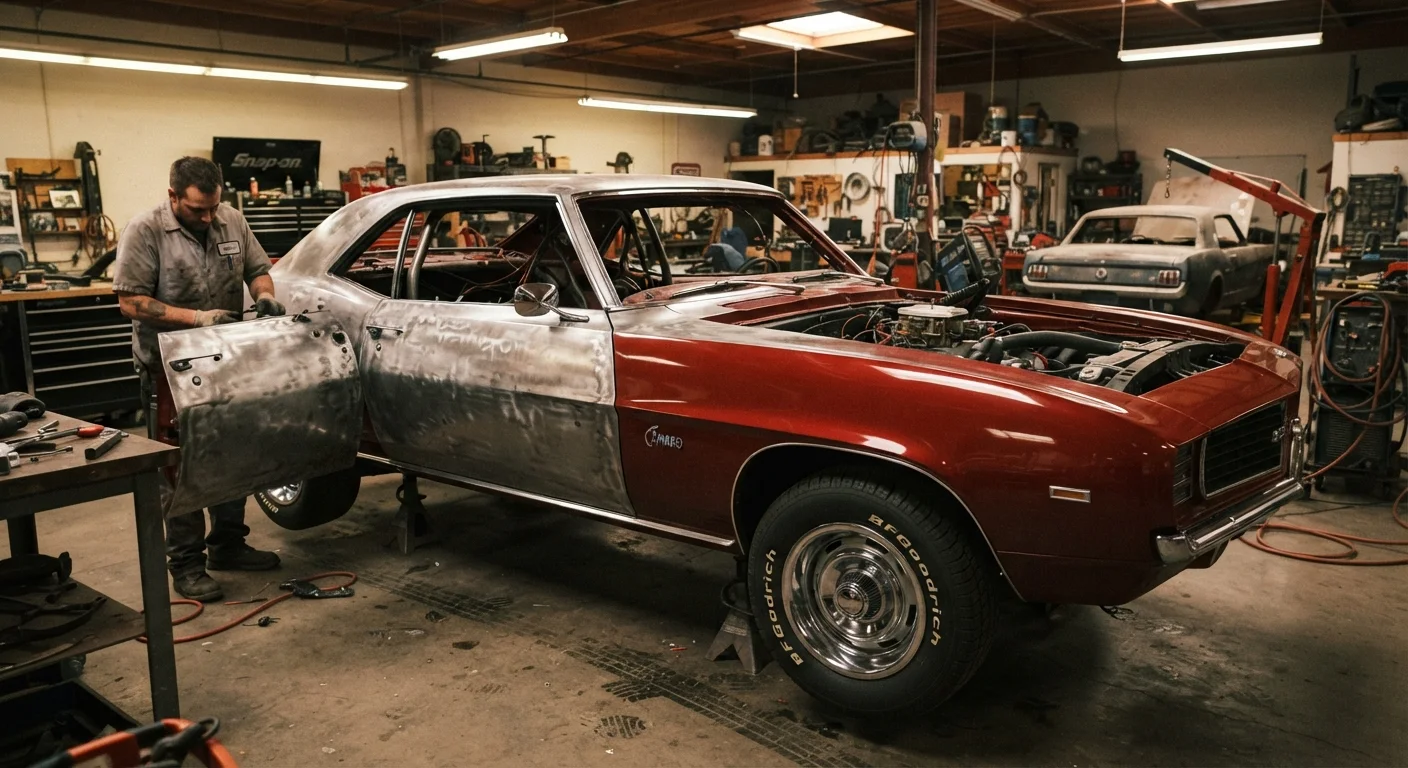
Bodywork is almost always the most labor-intensive and expensive phase of a classic restoration. Rust — surface, scale, or structural — must be fully addressed before any finish work begins. Covering rust with filler is a cosmetic fix that fails within years; proper repair requires cutting out compromised metal and welding in new sections.
Rust repair approaches by severity:
- Surface rust: Mechanical removal (grinding, sanding) followed by an epoxy primer sealer.
- Scale rust: Full removal to bare metal; treat or replace affected panels.
- Structural rust (floor pans, frame rails, rocker panels): Fabricate or source replacement sections and weld in; may require frame-off work.
Panel straightening, lead filling (on period-correct restorations), and body filler work follows metal repair. A quality restoration uses minimal filler — thick filler applications crack and telegraph imperfections through topcoats over time.
Never Paint Over Active Rust
Applying primer or topcoat over rust — even treated rust — without full mechanical removal is a temporary cosmetic fix that will fail. Moisture trapped beneath paint accelerates corrosion, and rust will reappear within a few seasons. Proper repair requires cutting out compromised metal and welding in sound replacements before any finish product is applied.
Paint selection depends on project goals. Factory-correct colors require verifying original paint codes, which are typically found on the vehicle's data plate or build sheet. Concours restorations use period-correct finishes; driver-quality builds have more flexibility. For more on how paint choices affect value, see mistakes that quietly destroy a classic car's value.
Always verify paint codes against the vehicle's data plate or factory documentation — never rely solely on the previous owner's description of the color.
Incorrect paint codes are one of the most common deductions in show judging and one of the most frequently cited issues in pre-sale inspections, directly affecting appraised value.
Take a full set of photographs of every wiring harness routing before you remove a single connector — then photograph again after cleaning and before reinstallation.
Electrical reassembly errors are responsible for a disproportionate share of post-restoration problems; reference photos eliminate ambiguity and reduce diagnostic time significantly.
When sourcing replacement panels or structural sections, prefer NOS (new old stock) or quality reproduction metal over repeated skim-filling of damaged originals.
Layered filler applications telegraphed through paint finishes are a telltale sign of poor restoration quality and reduce both aesthetic and market value over time.
Mechanical and Drivetrain Rebuilding
Once the body is in progress or complete, mechanical systems are rebuilt in parallel. Safety-critical systems — brakes, steering, and fuel delivery — should always be addressed first, regardless of budget constraints. Driving a classic with a refreshed exterior and neglected hydraulics is genuinely dangerous.
Engine rebuilding ranges from a basic freshening (new gaskets, seals, belts, and fluids) to a full machine-shop rebuild with new pistons, bearings, and valve work. The correct approach depends on compression readings, oil consumption, and the vehicle's intended use.
Transmission, rear axle, and suspension components follow. Rubber bushings in suspension and steering linkages degrade with age regardless of mileage; replacing them is standard practice. Wheel bearings, tie rod ends, and brake hardware are consumables that should be replaced as a matter of course.
Cooling systems on classic vehicles are frequently inadequate for modern stop-and-go traffic. A radiator flush and pressure test at minimum, and often a core replacement, is advisable. Wiring harnesses from the 1950s–1970s commonly use cloth-wrapped insulation that has become brittle; a professional assessment of the electrical system is essential before road use. For general parts and service guidance, the Vehicle Parts & Services hub covers sourcing and repair considerations.
Interior, Electrical, and Final Assembly
Interior restoration involves seat upholstery, headliner, carpet, door panels, and dash components. Sourcing period-correct materials — correct grain patterns, color codes, and stitching details — matters for authenticity. Many specialty suppliers reproduce factory-spec interior kits for popular models; less common vehicles may require custom fabrication.
Electrical reassembly on a classic car demands patience. A methodical approach — reinstalling one circuit at a time and testing before moving to the next — prevents the frustrating short-circuit troubleshooting that plagues rushed builds. If the harness has been replaced, verify that wire gauges are appropriate for the loads on each circuit.
Final assembly reverses the teardown sequence: drivetrain, suspension, glass, trim, and chrome go back in using your photographic documentation as a reference. Fastener torque specifications from factory service manuals should be followed; using wrong torque values on suspension or brake components is a safety concern.
Keep a Build Journal Throughout
A written or digital log of every part number, supplier, torque specification, and labor note made during the build becomes a valuable asset at completion. Buyers, appraisers, and insurance underwriters all view documented restorations more favorably than undocumented ones, and the record helps you if you ever need to revisit a system years later.
Once assembled, fluid fills and initial startup should be conducted carefully. Prime the oil system before cranking. Check for fuel leaks before any ignition attempt. Allow the engine to warm slowly and monitor temperatures, pressures, and unusual sounds before any movement under the car's own power.
Testing, Tuning, and Getting Road-Legal
A restored classic should go through a methodical break-in and testing period before regular driving. New or rebuilt engines benefit from varied RPM operation during the first several hundred miles to properly seat rings and bearings. Brake systems require bedding-in to optimize pad-to-drum or pad-to-rotor contact.
Alignment, corner weighting (on performance builds), and carburetor or fuel injection tuning follow initial driving. Have a qualified mechanic perform a safety inspection — brakes, steering, lights, and tires — before putting the car on public roads, regardless of how thorough your own work has been.
From a legal standpoint, classic vehicles often qualify for specialty registration categories that offer reduced fees and limited-use provisions. Insurance for a restored classic differs significantly from standard auto insurance; agreed-value policies are commonly used to protect the investment. Consult a licensed insurance agent familiar with collector vehicles for coverage appropriate to your situation.
Keep detailed records of all work performed, parts used, and vendors sourced. This documentation directly supports future value — prospective buyers and appraisers weigh restoration records heavily. Long-term care matters too: the guide to long-term storage that won't ruin your classic car covers how to protect your finished restoration during off-season storage.
Safety Inspection Before Road Use Is Essential
No matter how thorough the restoration, have a qualified, independent mechanic inspect all safety-critical systems — brakes, steering, suspension, fuel lines, and lights — before driving the vehicle on public roads. Classic vehicles do not have modern safety systems; a failure in a rebuilt component can have serious consequences. This step is not optional.
Finally, consider where your finished project sits on the philosophy spectrum. Resto-mod vs. concours restoration explores how build decisions made during restoration shape the car's identity, usability, and market appeal for years to come.